
How do you ferment vegetables at home?
To ferment vegetables at home, you simply combine fresh vegetables with salt, pack them into a jar, and allow beneficial bacteria to naturally preserve the food over time. The key is keeping everything submerged and using the correct salt ratio.
Vegetable fermentation is one of the easiest and most reliable ways to get started, making it perfect for beginners who want simple, consistent results.
Quick Start: Fermenting Vegetables
- Chop or prepare your vegetables
- Add 2–3% salt by weight
- Pack tightly into a jar
- Keep vegetables submerged under brine
- Leave at room temperature for several days
- Taste and refrigerate when ready
If you’re getting into fermentation, one of the best places to start is with vegetables.
They’re simple, reliable, and you don’t need any complicated equipment to get good results. In fact, once you understand the basics, you can ferment just about any vegetable you like.
But when you’re starting out, it can still feel a bit uncertain. You might be wondering things like:
- How do I actually start?
- How much salt do I use?
- How do I know if it’s working?
The good news is, vegetable fermentation is much simpler than it looks.
In this guide, I’ll walk you through it step-by-step so you can get your first batch going with confidence.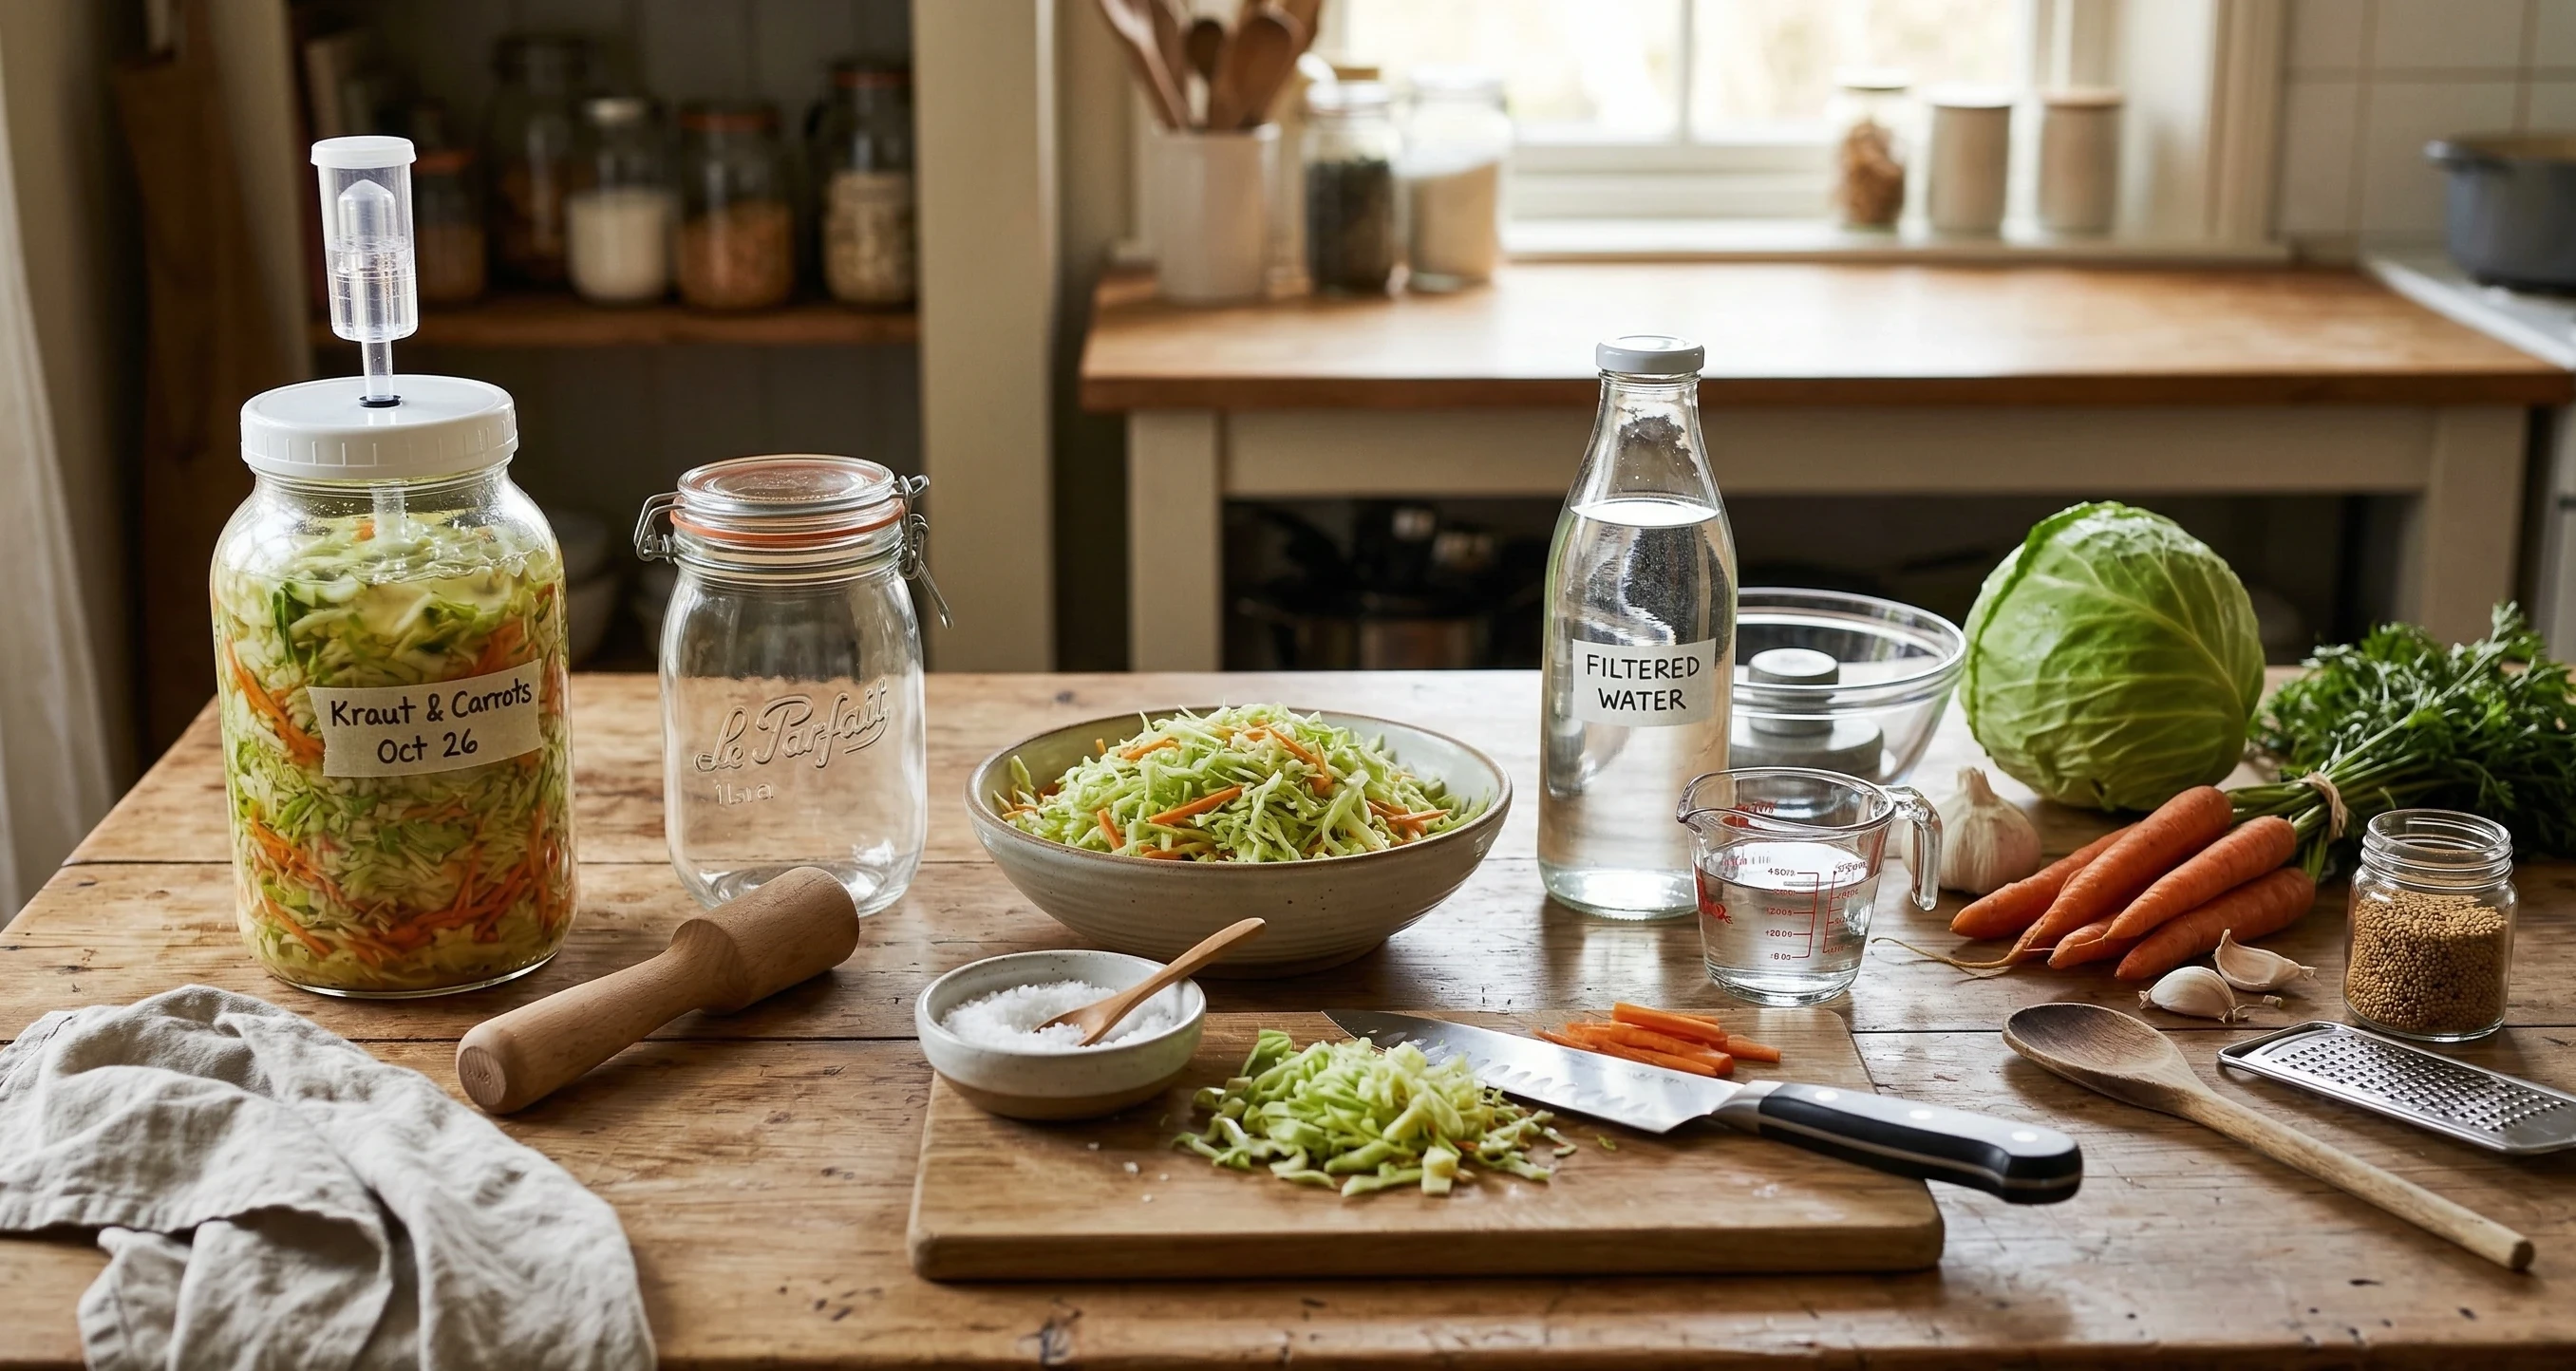
What Is Vegetable Fermentation?
Vegetable fermentation is a natural process where beneficial bacteria break down sugars in the vegetables and produce lactic acid.
That acid:
- Preserves the vegetables
- Gives them that tangy flavour
- Helps keep harmful bacteria away
It’s the same basic process behind foods like sauerkraut, kimchi, and pickles.
If you’re completely new to all of this, it’s worth starting with the basics first:
[LINK: Beginner’s Guide to Fermentation]
That will give you a solid understanding of what’s actually happening.
Why Start with Vegetables?
There are a few reasons vegetables are ideal for beginners.
First, they’re very forgiving. You don’t need exact conditions or special ingredients to get a good result.
Second, they don’t require a starter culture. The bacteria you need are already present on the vegetables themselves.
And third, you can keep it as simple or as creative as you like.
You can start with something basic like cabbage or carrots, and later experiment with different flavours, spices, and combinations.
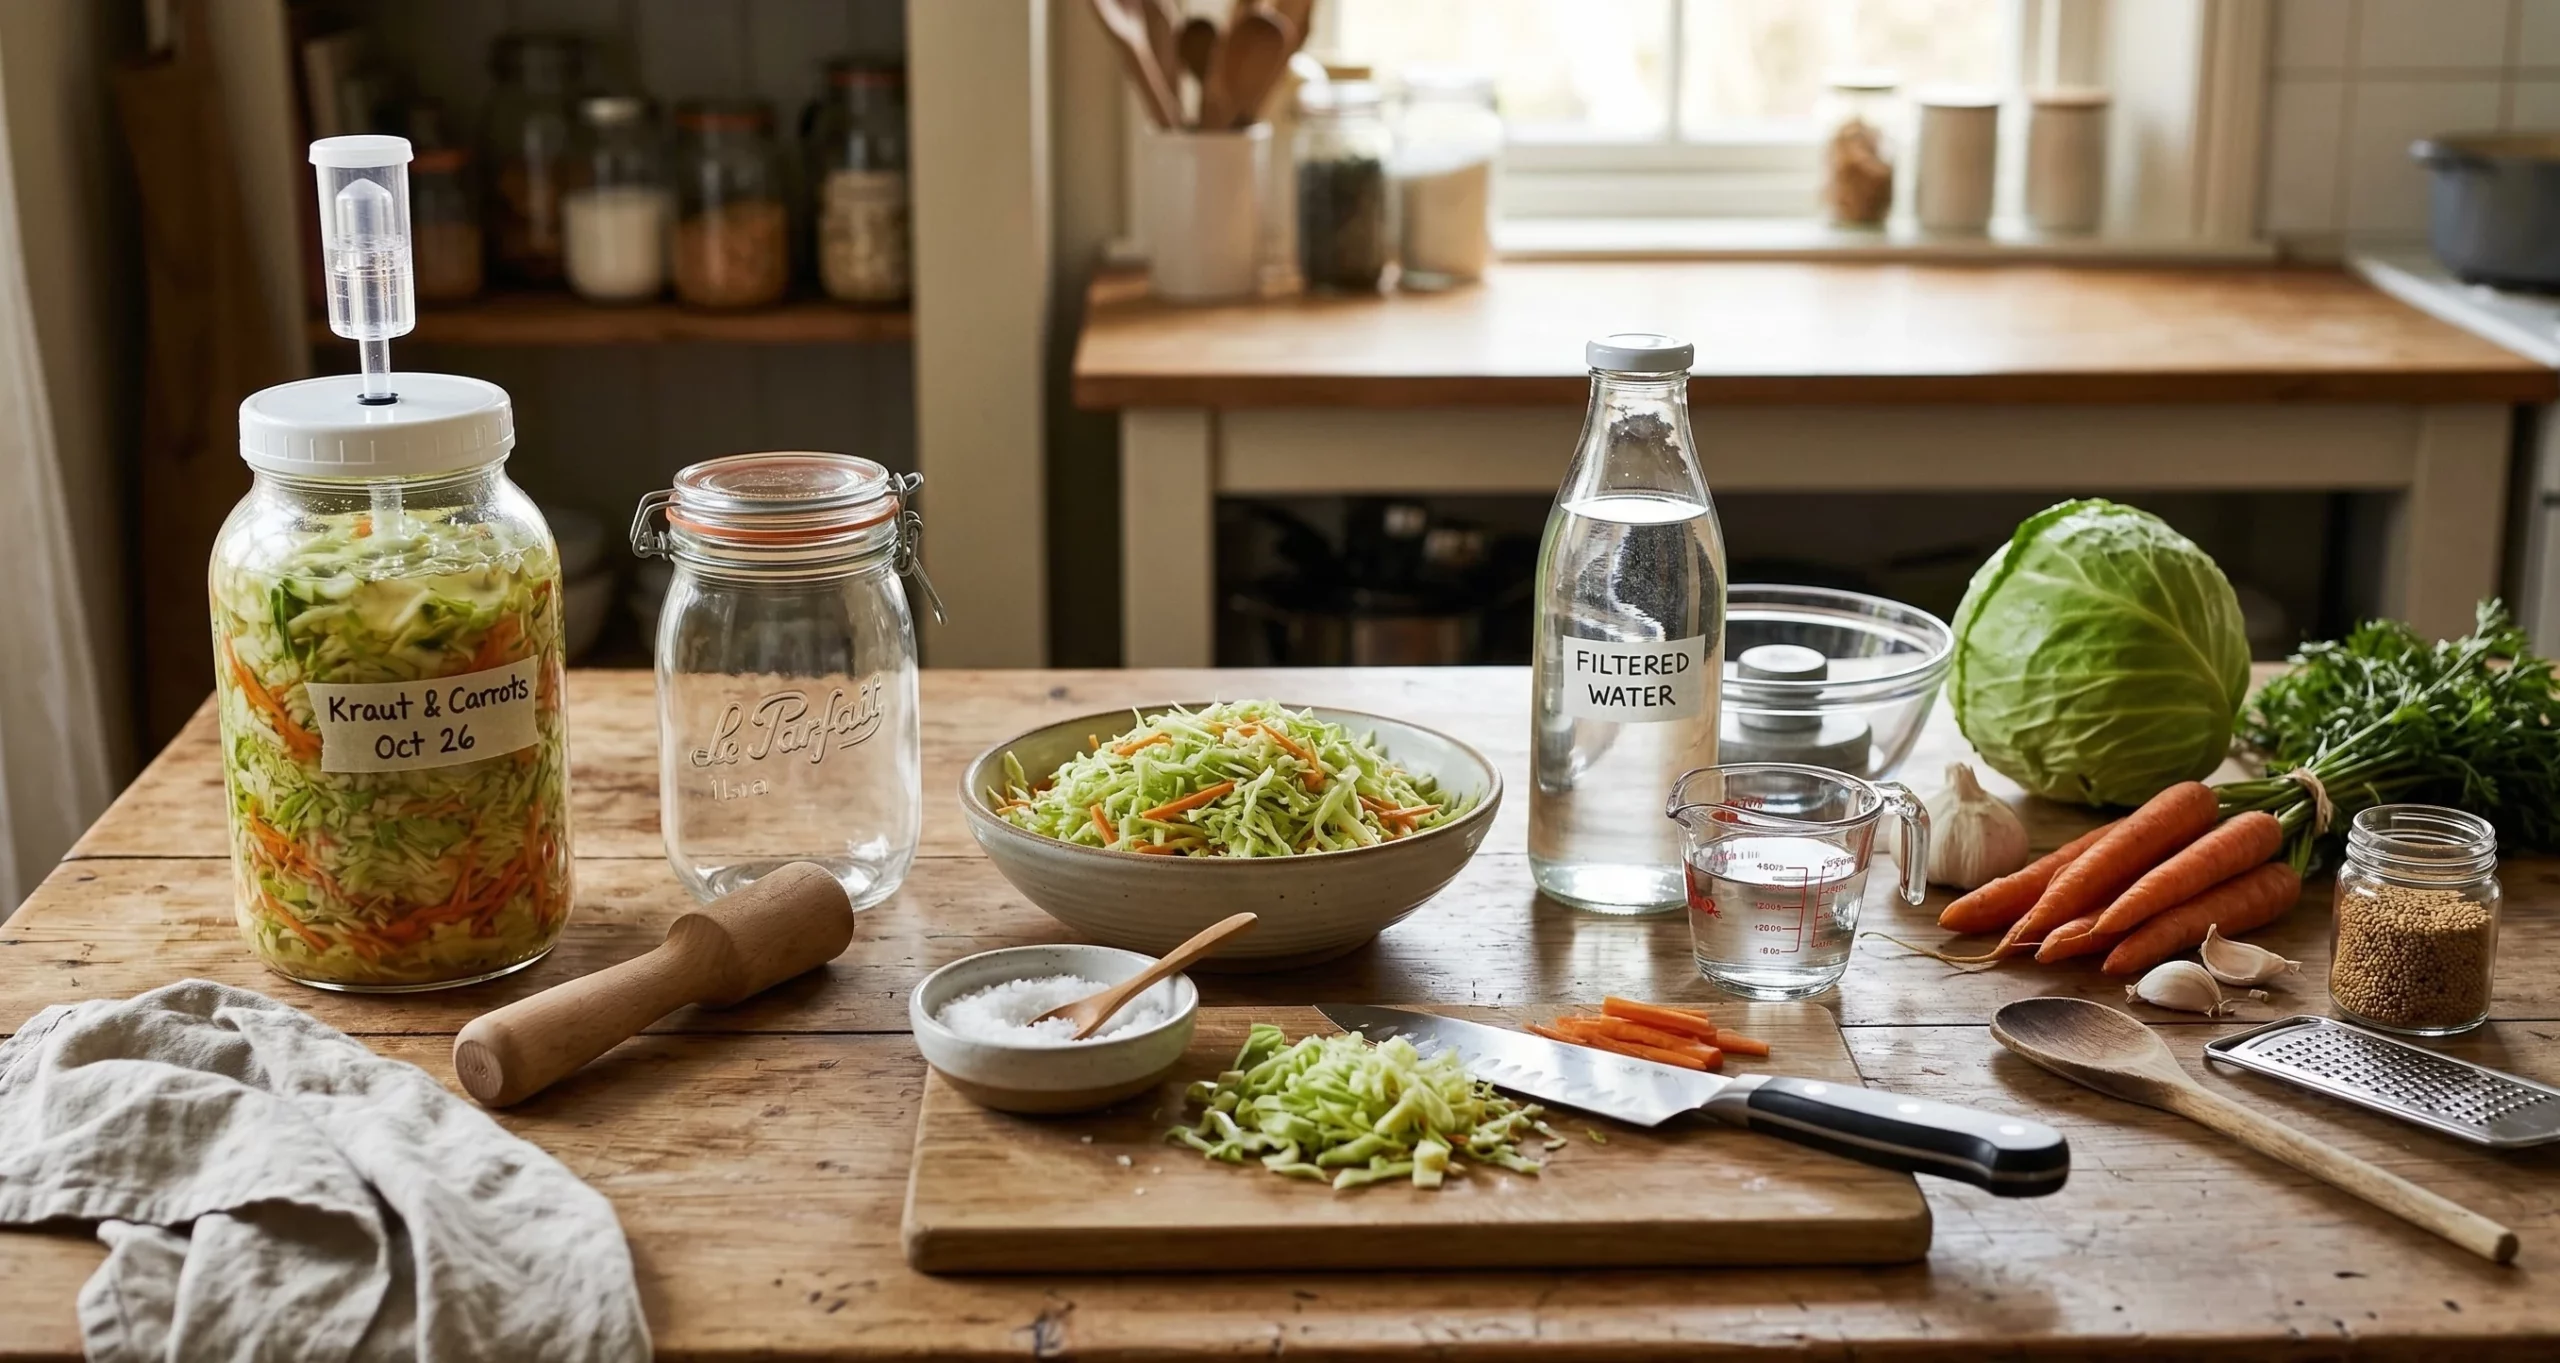
What You Need to Get Started
You don’t need much equipment to begin.
At a minimum, you’ll need:
- A glass jar
- Salt
- Water (for brine ferments)
- Vegetables of your choice
Optional but helpful:
- A weight to keep vegetables submerged
- A lid or airlock
If you’re unsure about equipment, you can see a simple breakdown here:
But don’t let this slow you down. You can start with what you already have.
Step 1: Choose Your Vegetables
Almost any vegetable can be fermented, but some are easier than others.
Good beginner options include:
- Cabbage
- Carrots
- Cucumbers
- Peppers
Cabbage is the easiest because it creates its own brine, which is why sauerkraut is such a popular starting point.
If you want a full walkthrough of that process, you can follow it here:
How to Make Sauerkraut at Home
Step 2: Decide on Your Method (Dry Salt or Brine)
There are two main ways to ferment vegetables.
Dry Salt Method
This is used for vegetables like cabbage.
You:
- Add salt directly to the vegetables
- Let them release their own liquid
Brine Method
This is used for most other vegetables.
You:
- Dissolve salt in water
- Pour it over the vegetables
Step 3: Get the Salt Ratio Right
This is one of the most important parts.
As a general rule:
- Around 2% salt for vegetables
- Around 2–3% for brine
If you want a full breakdown, you can read more here:
You don’t need to be perfect, but staying close to these ratios gives you consistent results.
Step 4: Prepare and Pack Your Vegetables
Wash your vegetables and cut them into the size you want.
Then:
- Place them into your jar
- Pack them down tightly
If you’re using a brine, pour it over until everything is covered.
The key thing here is:
- Everything must stay submerged
This helps prevent spoilage and keeps fermentation on track.
Step 5: Keep Everything Submerged
This is one of the most important rules in fermentation.
If vegetables are exposed to air, they can develop mold or spoil.
To prevent this:
- Press vegetables down firmly
- Use a weight if needed
Even something simple like a smaller jar or a clean object can work.
Step 6: Let It Ferment
Now comes the easiest part — leaving it alone.
Place your jar somewhere at room temperature, out of direct sunlight.
Over the next few days, you’ll start to notice:
- Bubbles forming
- Cloudy liquid
- A slightly sour smell
This is all normal.
Fermentation time can vary, but generally:
- 3–5 days → mild flavour
- 5–10 days → stronger flavour
Taste it along the way and decide when it’s ready for you.
Step 7: Move to the Fridge
Once you’re happy with the flavour:
- Move the jar to the fridge
- Keep it sealed
- Continue to keep everything submerged
Cold temperatures slow fermentation and help preserve the taste.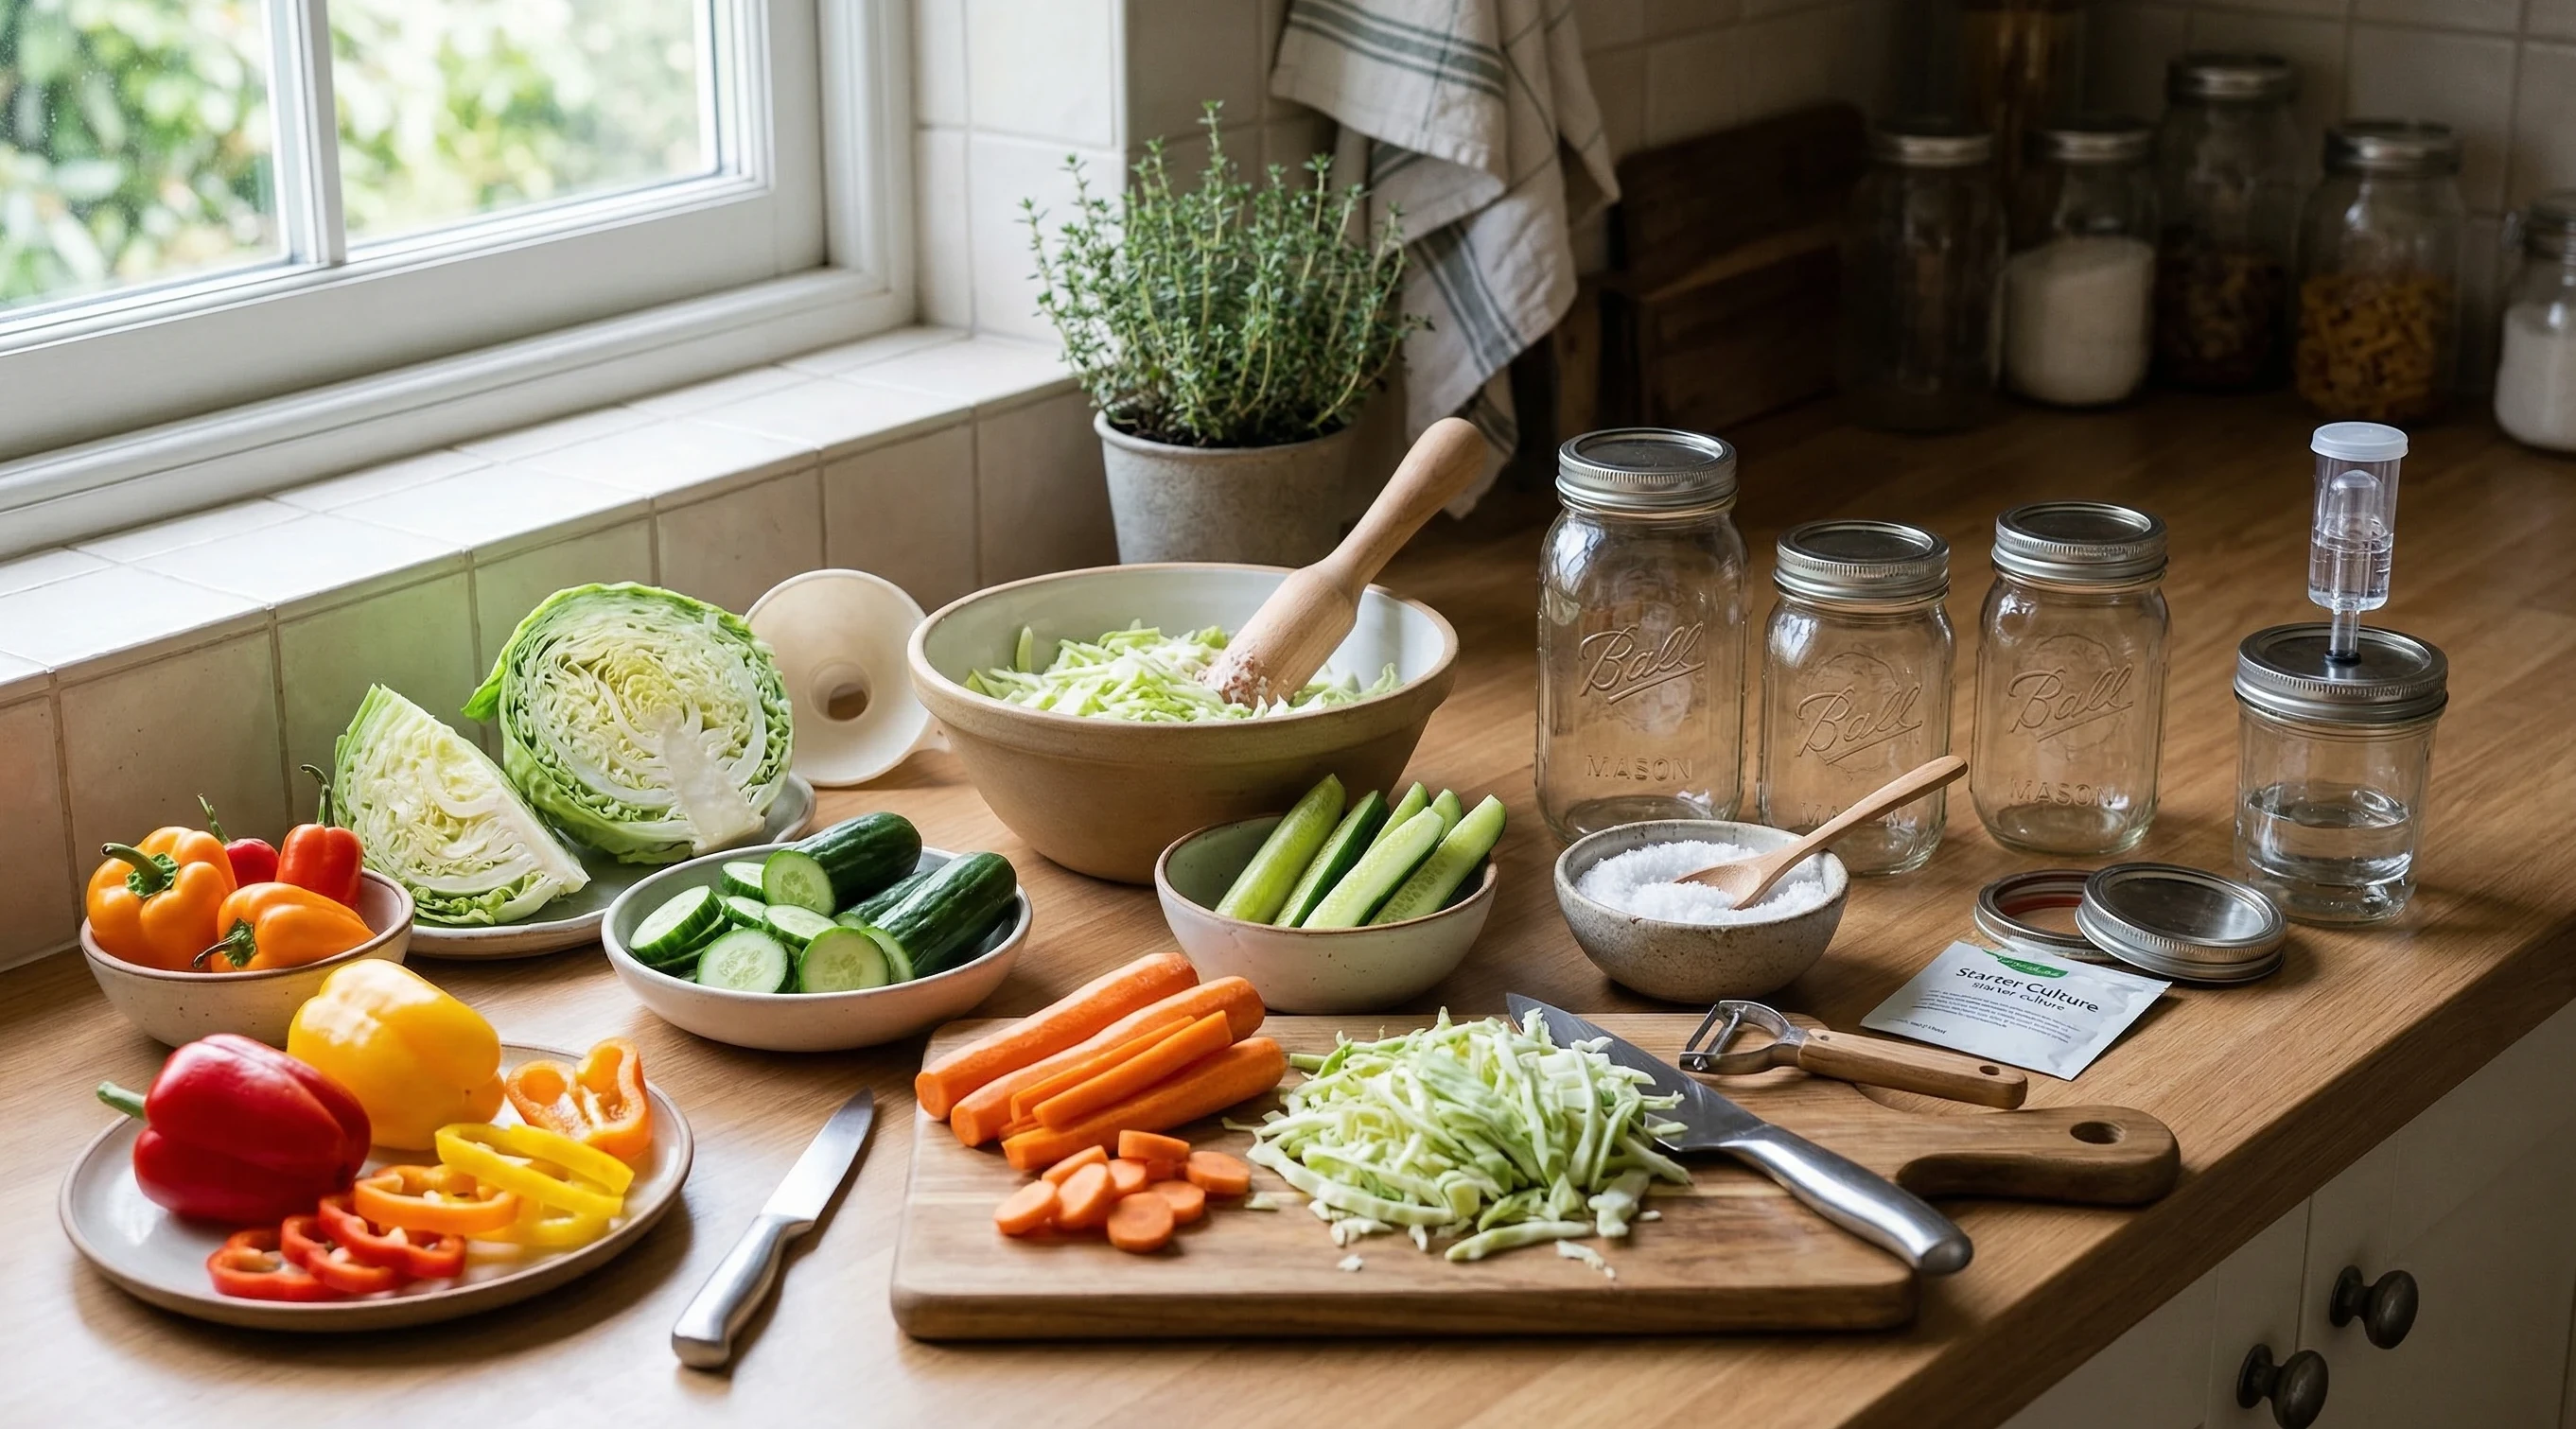
Common Problems (And How to Fix Them)
Most issues beginners run into are easy to avoid once you know what to look for.
Vegetables floating above the brine
This is one of the biggest causes of problems.
Make sure everything stays under the liquid.
Not enough salt
Too little salt can lead to spoilage.
Stick close to the recommended ratios.
Fermenting too hot
High temperatures can make things ferment too quickly and affect flavour.
A stable room temperature works best.
No bubbling
Not all ferments bubble visibly.
If it smells slightly sour and looks fine, it’s usually working.
If you’re unsure, you can read more here:
How to Identify Contamination in Food
Is Vegetable Fermentation Safe?
This is a common concern, especially at the beginning.
When done properly, fermentation is very safe.
You’re creating an environment where beneficial bacteria take over and protect the food.
Signs of a healthy ferment:
- Tangy, sour smell
- No strong or rotten odour
- No brightly coloured mold
If something smells off or looks unusual, it’s best to discard it.
For a full breakdown of safety, see:
How to Build Confidence with Fermentation
The best way to get comfortable with fermentation is to keep it simple.
Start with:
- One vegetable
- One jar
- One method
Once you’ve done it a couple of times, you’ll start to trust the process.
From there, you can:
- Try different vegetables
- Add herbs and spices
- Experiment with timing
It becomes much more intuitive than it seems at the start.
Where to Go Next
Once you’ve done your first vegetable ferment, you’ve already learned the most important part.
From here, you can expand into:
- Sauerkraut
- Yogurt
- More advanced ferments
If you want to build your foundation further, start here:
Final Thoughts
Fermenting vegetables at home doesn’t need to be complicated.
Once you understand the basics — salt, submersion, and time — everything else becomes much easier.
You don’t need perfect conditions or expensive equipment.
You just need to start.
And like most things, the more you do it, the more confident you become.
One jar at a time is all it takes.
Why Vegetable Fermentation Is Perfect for Beginners
Vegetable fermentation is forgiving, low-cost, and doesn’t require special equipment. Once you understand the basics, you can confidently experiment with different vegetables and flavours.