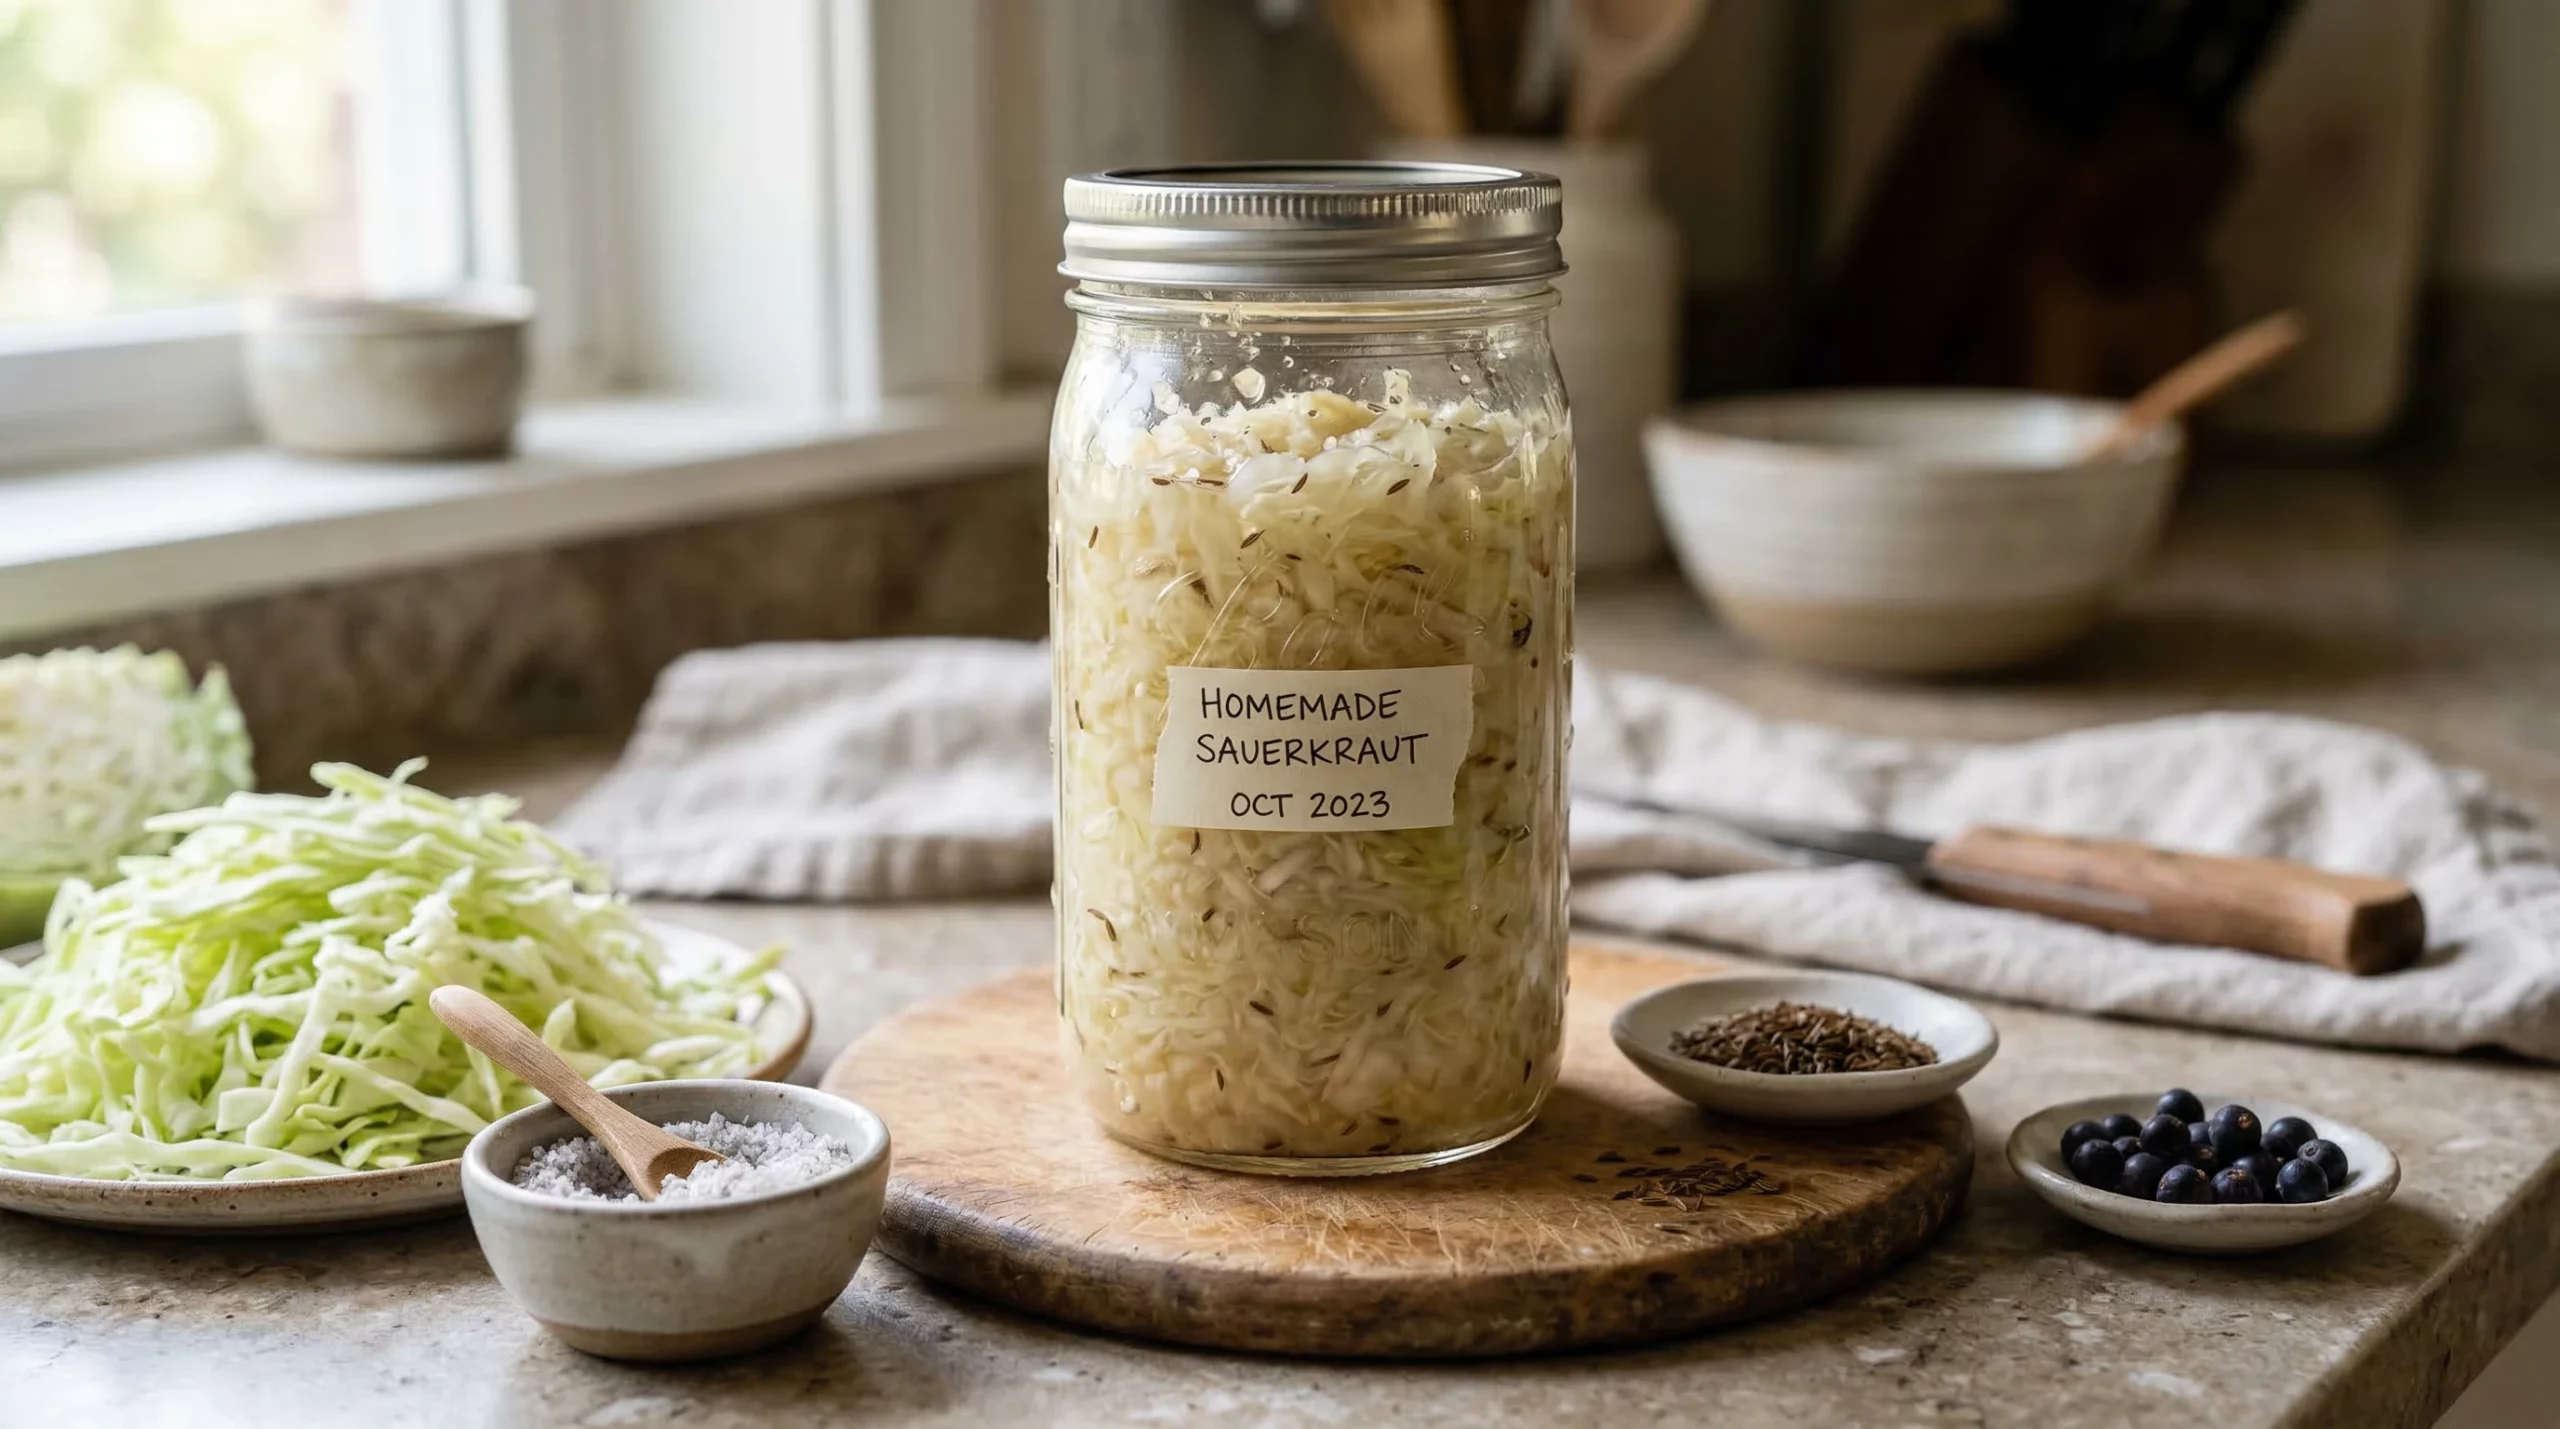
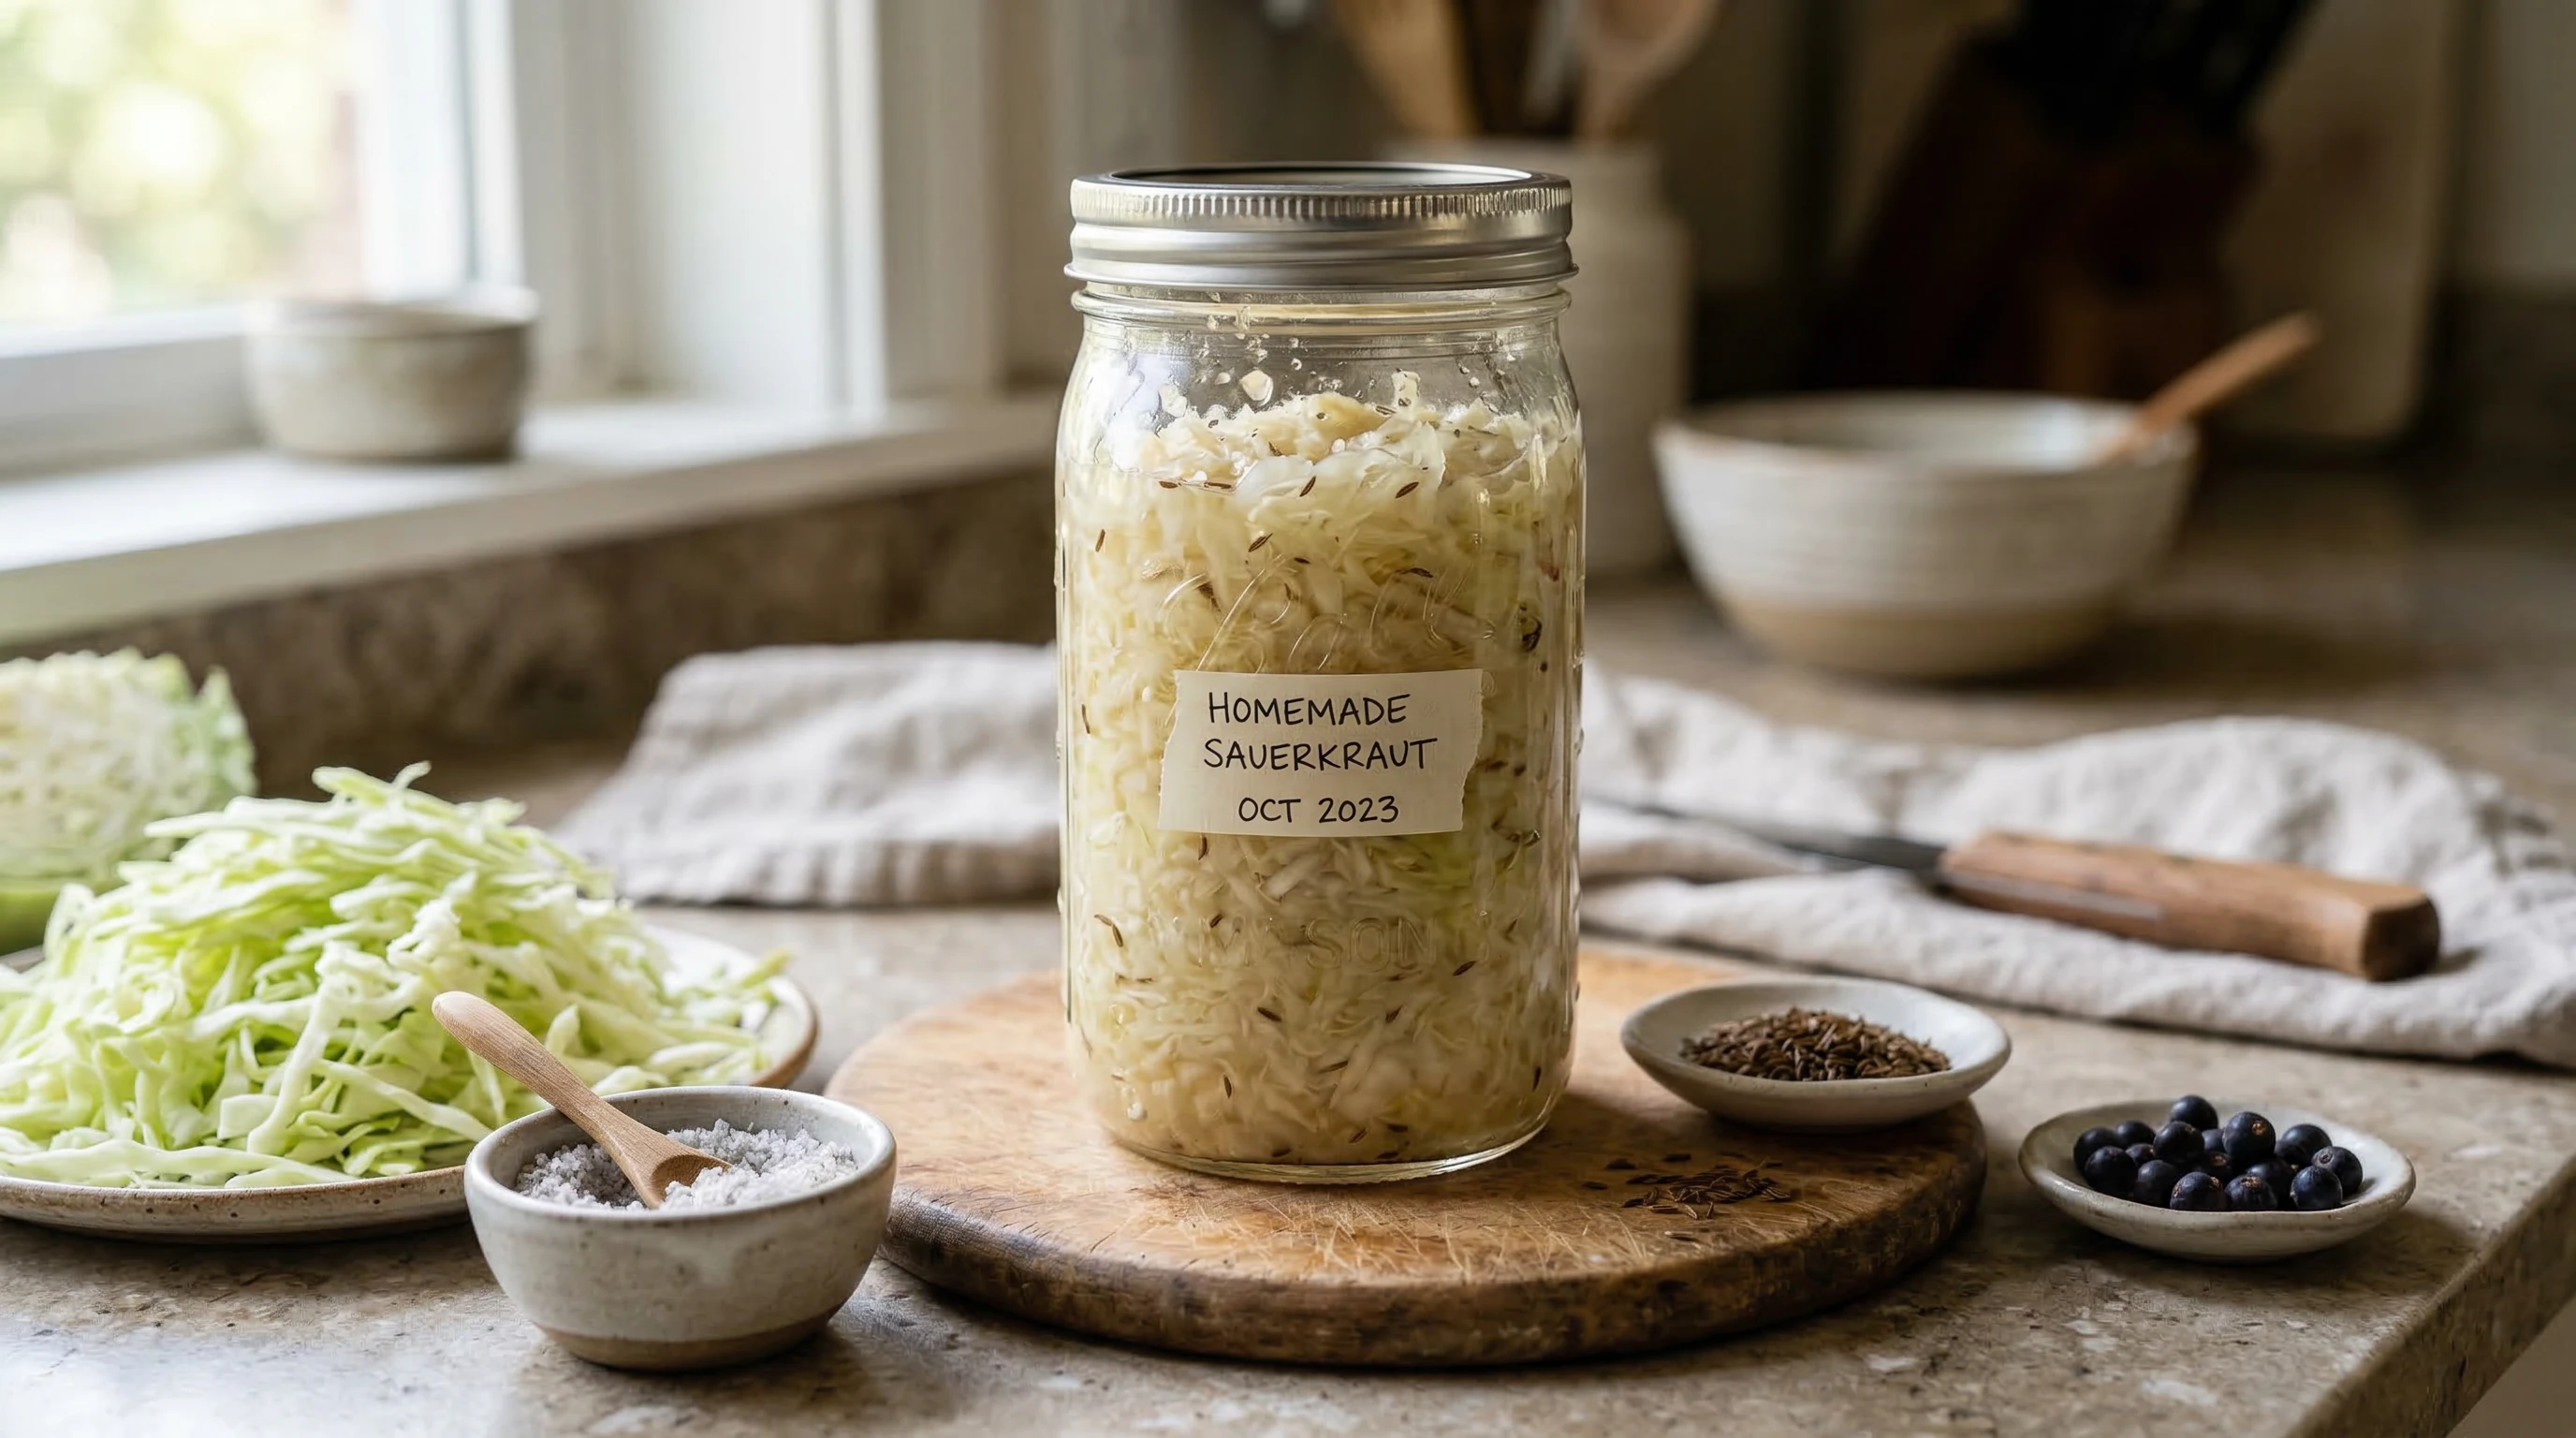
The tangy crunch of homemade sauerkraut always takes me back to my grandmother’s kitchen. It’s a super simple way to bring vibrant flavors, probiotics, and a little old world flair into your meals. Fermenting cabbage at home really is straightforward, and the results taste so much fresher than anything from the store. Even if you’re brand new to fermentation, you can definitely pull this off with just a few pantry staples.
This classic sauerkraut method is all about letting nature do its thing. There’s no fancy equipment or tricky steps, just a bit of patience and a cozy spot on your countertop.
Reasons to Love Homemade Sauerkraut
No special tools needed. All you need is a knife, a big bowl, and a clean jar.
Super budget friendly. Cabbage and salt are both inexpensive, so you get a ton of value for your effort.
Packed with probiotics. Naturally fermented sauerkraut supports gut health and digestion.
Customizable flavors. You can toss in garlic, caraway, or juniper berries if you want to get creative.
Long shelf life. Once chilled, your kraut lasts for months without any preservatives.
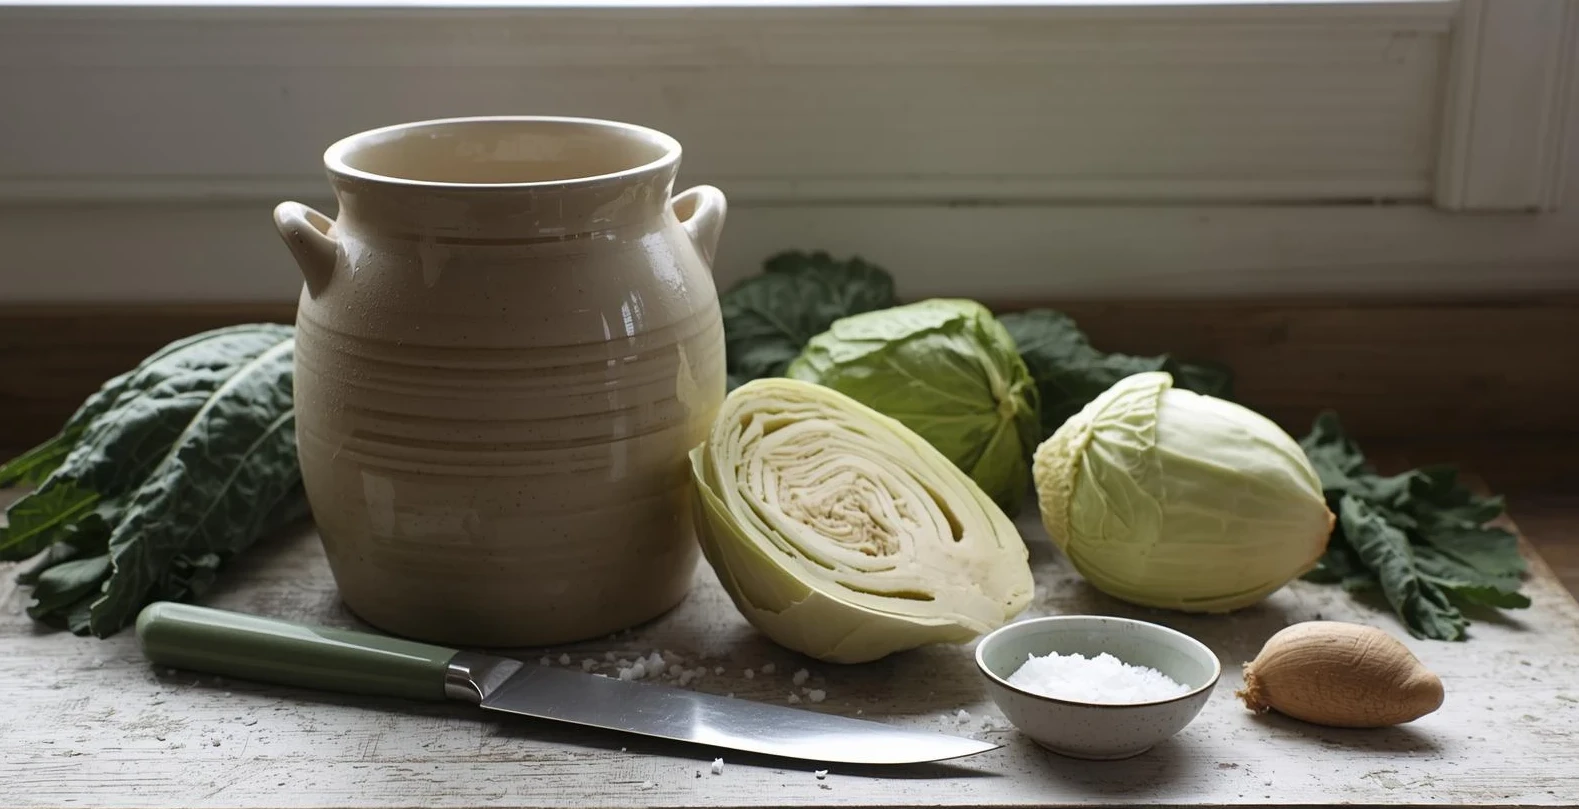
What You’ll Need for Classic Sauerkraut
Here’s what I use to whip up a homemade batch:
1 medium green cabbage
1 to 1.5 tablespoons sea salt (avoid iodized salt, as it can impact fermentation)
Optional: 1 tablespoon caraway seeds
Optional: 1 to 2 cloves garlic, sliced
1.Shred the Cabbage
Remove any tough outer leaves from your cabbage. Cut it into quarters, remove the core, and cut each section into thin strips. I like my slices about the width of a quarter, but you can go thinner if you want softer sauerkraut.
2. Salt and Massage
Dump the shredded cabbage into a large bowl. Sprinkle the sea salt evenly over the top. If you’re using caraway seeds, garlic, or juniper, toss them in now. With clean hands, massage the salt into the cabbage for about 5 to 10 minutes. It will start to wilt and release plenty of liquid. You want enough juice to cover the cabbage once it’s packed into your jar.
3. Pack the Jar
Fill a clean glass jar (a quart size works well for one medium cabbage) with handfuls of the shredded cabbage. Press down firmly as you go. The goal is to eliminate air pockets and make sure the brine rises above the cabbage. Leave about an inch of space at the top of the jar.
4. Add a Weight
To keep the cabbage submerged in its brine, place a small, food safe weight on top. I sometimes use a smaller glass jar, a boiled stone, or even a folded clean cabbage leaf. Anything that holds down the cabbage and is safe for food contact will do the trick.
5. Ferment and Watch the Magic
Cover your jar loosely with a lid, or use a clean towel secured with a rubber band to let gases escape. Place the jar at room temperature, out of direct sunlight. The fermentation time will vary with the temperature in your kitchen and how sour you want your kraut:
Cover the jar loosely to allow gas to escape
Place it at room temperature out of sunlight
Allow 3 to 5 days for a mild flavor
1 to 2 weeks for something tangier
I check and taste mine every couple of days. If you see bubbles and the cabbage smells sour (but not off), you’re on the right track. Just make sure the cabbage stays beneath the brine. If it ever pops up, press it back down or add a bit of saline (1 teaspoon salt per cup water).
6. Move It to the Fridge
Once your sauerkraut hits that perfect level of tang, screw on the lid tight and place the jar in the fridge. The cold slows down fermentation and helps keep it crisp and tasty for months. I usually snag a forkful straight from the jar whenever I need a crunchy, probiotic snack.
Handy Sauerkraut Tips & Variations
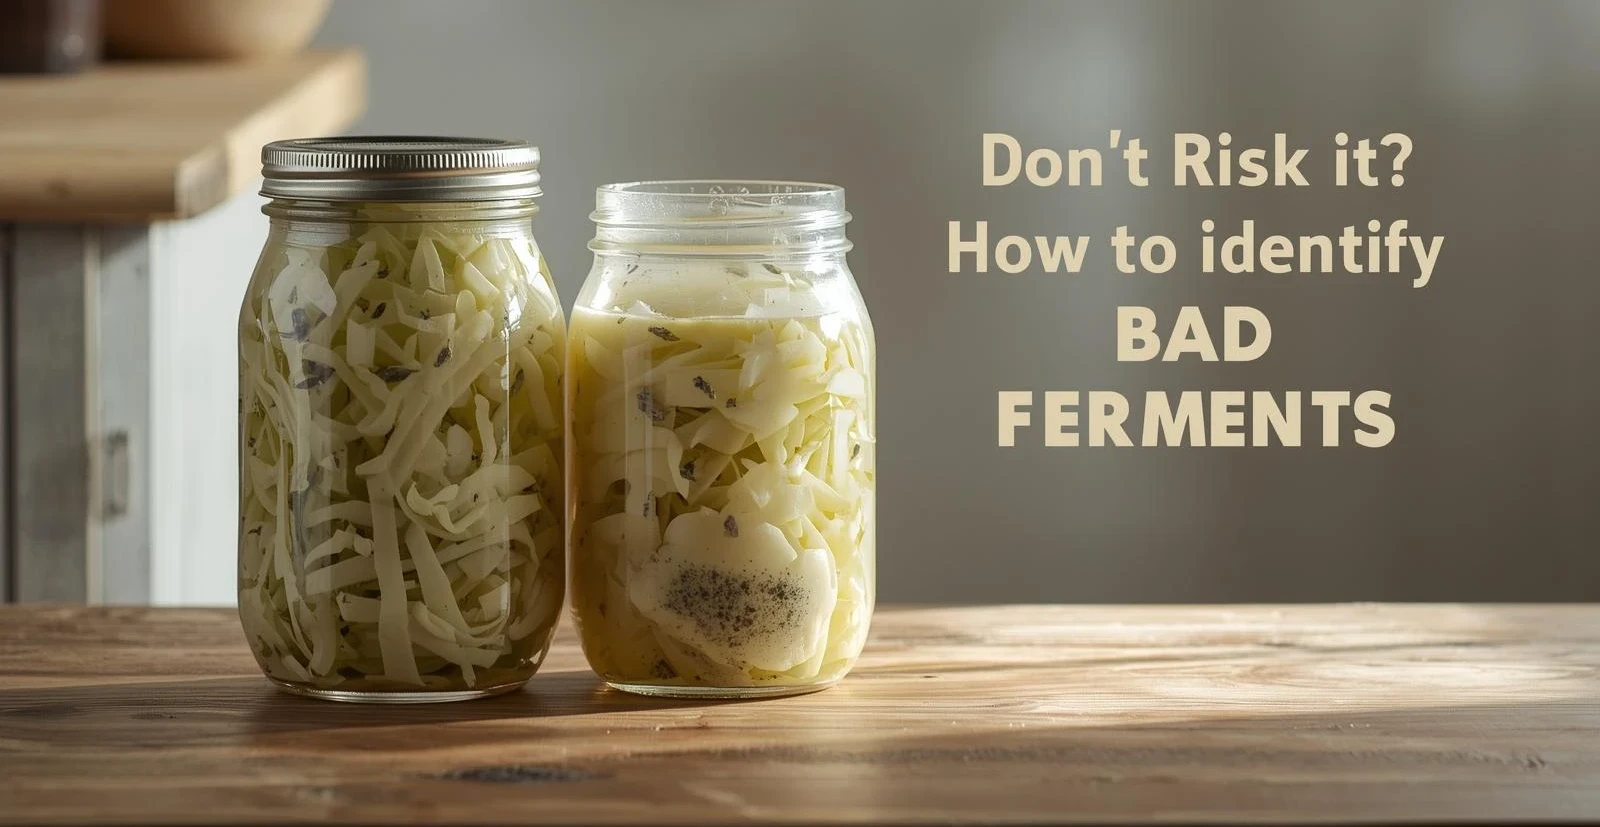
If white, grey, or blue mold appears on top, just scoop it off with a clean spoon. As long as the kraut beneath the brine looks and smells good, it’s still safe.
Red cabbage works just as well as green, and it looks really eye catching in salads.
Add apple slices to the mix for a sweeter twist. Just swap out a handful of cabbage for apple before packing the jar.
Start small if you’re nervous. Just ferment half a head of cabbage in a pint jar until you get the hang of it.
If you want a garlic kick, thin slice several cloves and tuck them throughout the jar as you pack.
Sauerkraut FAQs
Q: What type of salt should I use? Sea salt without additives is best. Avoid table salt with iodine, as it can mess with the fermentation process.
Q: How long does sauerkraut last in the fridge? If you keep it sealed and submerged under its brine, homemade sauerkraut stays good for several months, sometimes even up to a year. If it ever starts smelling funky, it’s time to toss it.
Common Mistakes When Making Sauerkraut
Not using enough salt
Letting cabbage sit above liquid
Fermenting too hot
Q: How do I know if my sauerkraut is safe? The kraut should smell pleasantly sour and taste crisp. If you spot mold or things get slimy or pink, it’s better to be cautious and compost that batch.
How to Know When Sauerkraut Is Ready
Tangy smell (not rotten)
Slight bubbling
Taste test = best method
Give It a Try. Fermentation Is Fun!
Making sauerkraut at home brings amazing flavor to your recipes and keeps your gut happy. If you end up with more than you can eat, sauerkraut perks up sandwiches, sausages, salads, or even your morning eggs. I love hearing how new fermenters are making sauerkraut part of their kitchen routine. Share your stories or creative twists when you give this a go!
2 thoughts on “How To Make Sauerkraut At Home”
I’ve been experimenting with fermenting vegetables lately, mostly papaya, but since cabbage is so readily available in our local market, transitioning to sauerkraut feels like the perfect next step.
I really appreciate how straightforward you made the process sound. The tip about using a clean cabbage leaf as a weight is brilliant. It’s so much more practical than hunting for specialized fermentation stones. I also didn’t realize that avoiding iodized salt was so critical for the “good” bacteria to thrive!
Since our local climate here can be quite warm, do you have any advice on how to keep the fermentation from progressing too quickly or becoming too soft in a tropical environment? I’m worried the “3 to 5 days” might happen in just 24 hours!
Hi Alysanna sauerkraut is the easiest way to start fermenting just give it a go. If using a cabbage leaf for a weight make sure your sauerkraut is all under the salt brine. If needed pour a salt solution in to fully cover your sauerkraut.
I live in North Queensland Australia and don’t have any problems. Keep it out of the sun and put in the coolest part of your house and see how you go.

I’ve been experimenting with fermenting vegetables lately, mostly papaya, but since cabbage is so readily available in our local market, transitioning to sauerkraut feels like the perfect next step.
I really appreciate how straightforward you made the process sound. The tip about using a clean cabbage leaf as a weight is brilliant. It’s so much more practical than hunting for specialized fermentation stones. I also didn’t realize that avoiding iodized salt was so critical for the “good” bacteria to thrive!
Since our local climate here can be quite warm, do you have any advice on how to keep the fermentation from progressing too quickly or becoming too soft in a tropical environment? I’m worried the “3 to 5 days” might happen in just 24 hours!
Hi Alysanna sauerkraut is the easiest way to start fermenting just give it a go. If using a cabbage leaf for a weight make sure your sauerkraut is all under the salt brine. If needed pour a salt solution in to fully cover your sauerkraut.
I live in North Queensland Australia and don’t have any problems. Keep it out of the sun and put in the coolest part of your house and see how you go.
Best regards John.