

If you’re like me and enjoy experimenting in the kitchen, homemade yogurt is one project that’s super rewarding and easier than people often think. Turning milk into yogurt at home isn’t just about the fun, it’s also about knowing exactly what’s in your food, controlling your ingredients, and, honestly, ending up with a healthier breakfast or snack than a lot of storebought versions. Making yogurt with a yogurt maker and good yogurt starter keeps the process simple, and unlocking those live cultures in your own kitchen brings a whole new vibe to your eating habits.
New to fermentation? Start here:
(link your Beginner Guide)
Why Make Yogurt at Home?
There are a few perks that make homemade yogurt tough to beat. The main one for me is the control. You pick your milk, you skip the stabilizers and sugars, and the flavor is way fresher. At the store, most yogurts have added thickeners or sweeteners that aren’t good for us. When you make your own, you can skip all that and even play with extra prebiotics or use organic milk for that creamy, natural taste.
Homemade yogurt also gives you a nice dose of beneficial bacteria. You can even control the fermentation time, letting it get as tangy or mild as you want. It’s a fun way to support gut health without any mystery ingredients. Not to mention, making yogurt at home can help you avoid unnecessary packaging waste and lets you experiment with textures and flavors that just aren’t available on the shelves.
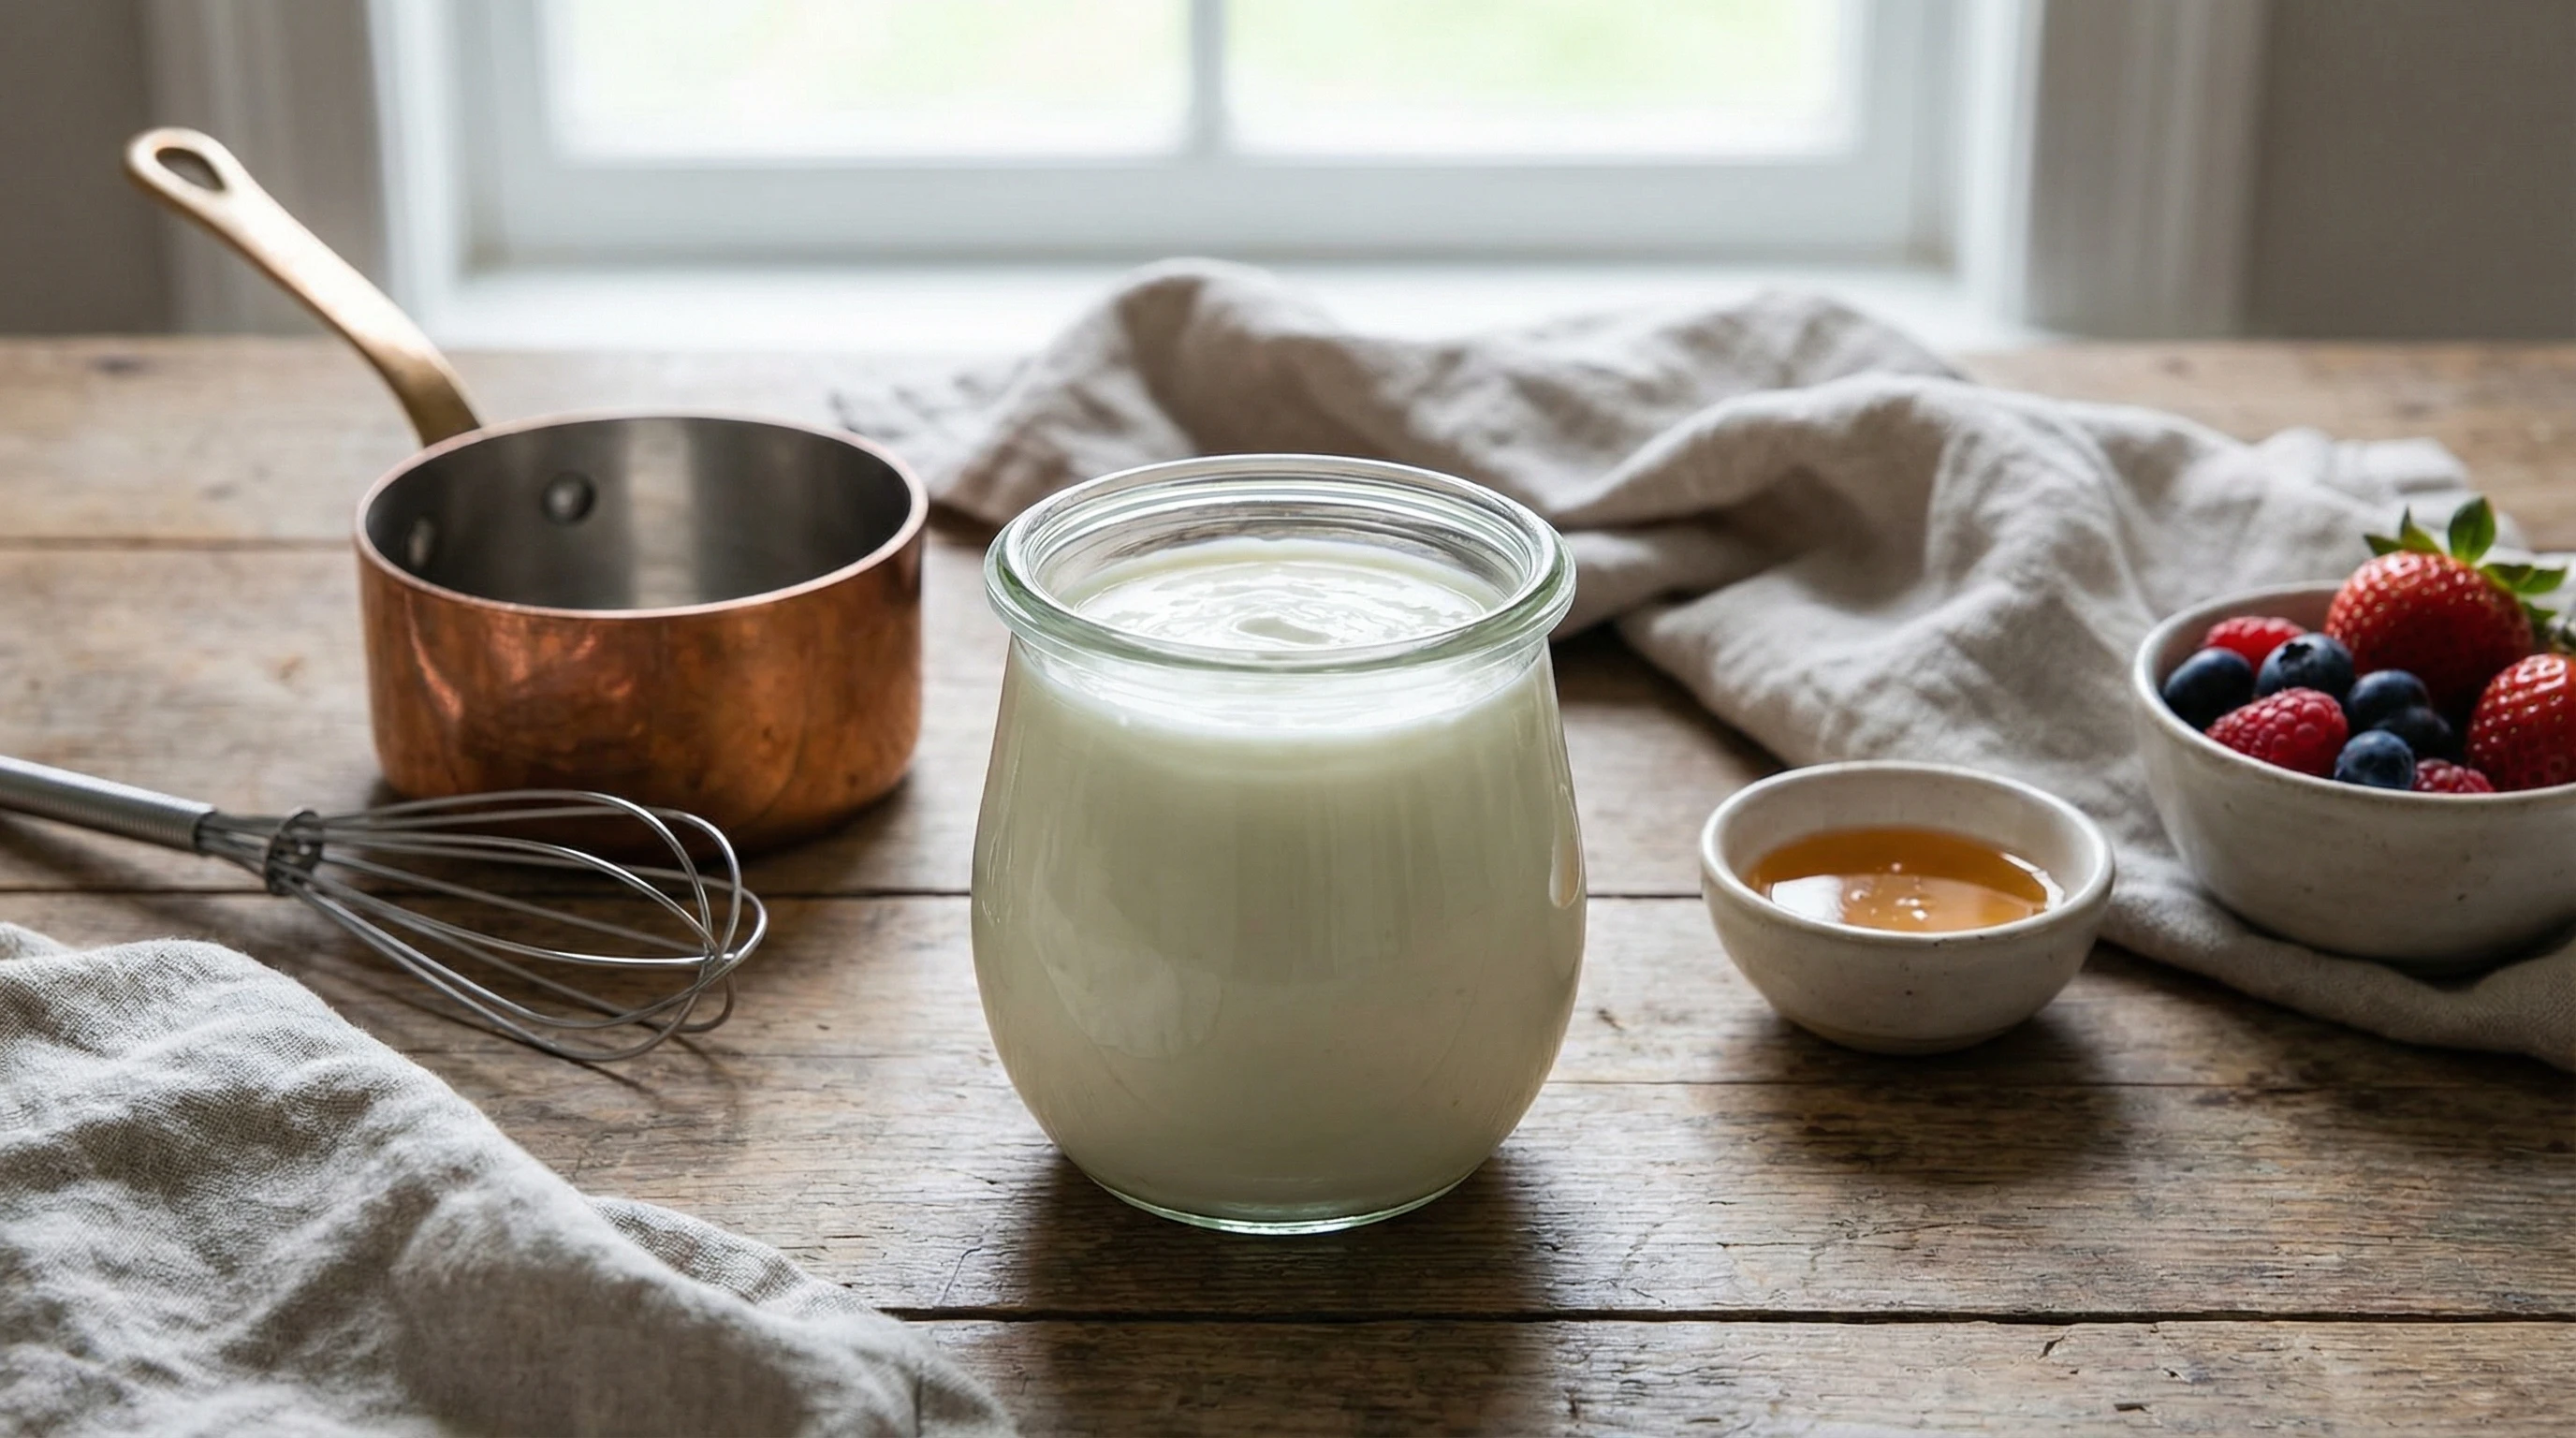
What You Need: Basic Gear for Yogurt Making
Yogurt doesn’t need much fancy equipment. At its core, it’s just milk and a culture. But if you want to make the process foolproof and keep your results consistent, investing in a yogurt maker and a good starter culture is totally worth it.
- Yogurt Maker:These handy gadgets make it easy to keep the temperature steady, which is key for getting that creamy texture every time. I recommend this one
- Yogurt Starter: This is what does the actual work, introducing the live bacteria into your milk. You can use a little storebought plain yogurt with live cultures, or grab a special starter online for your first batch.
- Thermometer: While not absolutely needed, a kitchen thermometer helps you make sure your milk is at the right temp when adding the starter (usually about 100°F or 38°C).
- Fine Mesh Strainer or Cheesecloth: If you want thicker, Greek style yogurt, you’ll need something to strain out some of the whey. This is a great step if you prefer a dense, creamy treat rather than a thinner variety.
If you don’t have a yogurt maker, you can still make yogurt using a slow cooker, a warm oven, or even a well-insulated cooler. The main goal is to keep the milk and culture mixture warm and cozy so the bacteria can get to work.
The StepByStep Guide: How to Make Yogurt Easily at Home
- Heat Your Milk: Pour your chosen milk into a saucepan. Slowly heat it to around 180°F (82°C). This helps denature the proteins for the best texture. Stir occasionally so you don’t scorch the bottom.
- Cool the Milk: Let that hot milk cool down to about 110°F (43°C). I usually just let the pot sit on the counter for 30-40 minutes. If you’re in a hurry, an ice bath will speed things up and help prevent the milk from developing a skin on top.
- Add Yogurt Starter: Put a few spoonfuls of yogurt starter into a bowl. Add a little of your cooled milk and whisk until smooth. Pour this mixture back into the main pot and stir well. This helps get those good bacteria evenly mixed in.
- Incubate the Yogurt: Pour the milk mixture into the yogurt maker (or a glass container if you’re incubating in the oven). Set the time; 6 to 12 hours usually works. Longer times give tangier yogurt. Keep it undisturbed while it transforms. Interested in prebiotics? Stir a little in before fermenting for extra gut-friendly benefits.
- Cool and Strain (If Needed): Once set, pop the yogurt in the fridge for 6 hours to chill and firm up. For extra thick yogurt, pour it into a strainer lined with cheesecloth and let it drain in the fridge for a few hours.
You might need to experiment a couple of times to get your preferred texture and taste, but once you figure out your sweet spot, homemade yogurt becomes a regular part of your kitchen routine. If you like, you can mix in a spoonful of milk powder before fermentation to get an even thicker result.
Common Questions and Trouble Spots
- Why did my yogurt turn out runny? Usually, if the temperature is inconsistent, the culture can’t work its magic fully. Try using a yogurt maker or keep your oven light on for gentle warmth. Also, the longer it strains, the thicker it gets!
- How do I get a milder flavor? Incubate for a shorter time (around 6 hours). For tangier yogurt, go longer.
- What kind of milk works best? Whole milk makes yogurt that’s super rich and creamy, but lowfat or even nondairy milks will work, although they tend to yield a slightly softer set. If you’re using nondairy, pick an option without too many additives and check for extra protein for the best creaminess.
- Can I flavor my yogurt before fermenting? Stick to plain yogurt for fermentation. It’s better to flavor your batches later, so add fruit, honey, or jam just before serving.
Tips to Make the Process Even Smoother
After a few tries, making yogurt gets even easier, and you’ll probably want to experiment with different batches. Here’s what I’ve found useful:
- Use an ice bath to speed up the cooling step. Saves time, especially on busy mornings.
- Always set aside a few spoonfuls of your best homemade yogurt to use as your starter for the next batch.
- If you like super thick yogurt, strain it after it chills.
- Play with fermentation times for your favorite texture and tang. There’s no “perfect,” it’s about what you like best.
- Adding a scoop of prebiotic fiber powder to your milk before fermenting brings extra benefits, especially if you’re focusing on gut health. Another tip is to use insulated containers if you don’t have a yogurt maker. This will help maintain a stable temperature during incubation.
Got Milk? Picking the Right One for Your Yogurt
Choosing your base makes a big difference in both the nutrition and taste of your yogurt. Most people go for cow’s milk, but goat milk, sheep’s milk, and even coconut or soy milk all work with slight tweaks. Go with whole milk if creamy is your goal. For non-dairy options, a little agar or cornstarch can help thicken the final yogurt. Always check that your milk doesn’t have too many additives or preservatives, since those can mess with the bacteria and slow the culturing process.
Some home cooks also like to try ultra-filtered milk or sheep’s milk for a richer, more unique taste and texture. Trust your tastebuds and play around to see what you and your family like best.
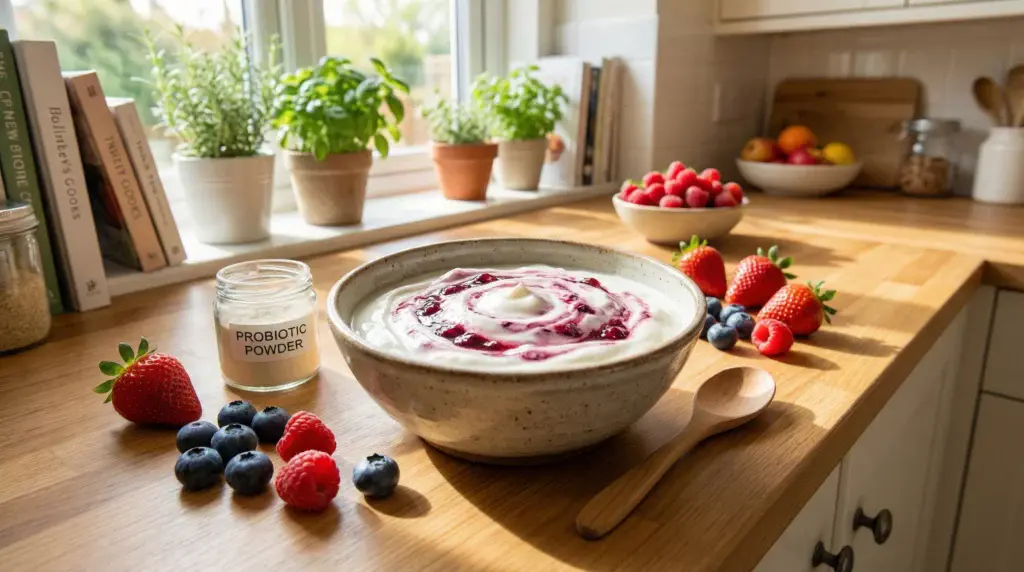
RealLife Example: My Favorite Yogurt Combo
One of my go-tos is using organic whole milk and a packet of live yogurt starter. I mix in a little prebiotic fiber before incubating, then finish with a quick strain for thick, Greekstyle yogurt. My favorite topping combo is honey and berries. The cool part? You’ll start noticing that your next batch with leftover starter comes out even creamier; it’s a winwin for tastebuds and gut health.
Some Advanced Tricks Worth Checking Out
- Batch Flavors: After your yogurt sets, split it into smaller containers and swirl in different jams, spices (think cinnamon or cardamom), or lemon zest.
- Freeze for Storage: If you want to delay your starter for future batches, freeze a few spoonfuls and thaw before use. It works surprisingly well!
- DIY Greek Yogurt: Let your yogurt drain in a mesh strainer overnight and you’ve got thick, extra rich yogurt great for dips or mixing with herbs as a savory snack.
- No Waste Cooking: Don’t toss the drained whey! Use it for smoothies, baking, or add it to soups for an extra protein kick.
Homemade yogurt also serves as a perfect base for homemade tzatziki or labneh, so you can branch out and try new dishes that showcase your kitchen skills. You might be surprised at how versatile fresh yogurt can be in both savory and sweet recipes.
Frequently Asked Questions
How long does homemade yogurt last?
Homemade yogurt keeps in the fridge for a week, sometimes longer if it’s thick and hasn’t been opened too much. If it smells off or looks weird, it’s better to start fresh. Always store homemade yogurt in airtight jars or containers to help it stay fresher longer.
Can I use plantbased milk to make yogurt?
Yes, but pick an option high in protein (like soy or some oat milks). You might want to add a thickener, too. Coconut milk makes nice, rich yogurt but can be a bit trickier to set. Stir well and follow package guidance for the best results.
What’s the easiest way to clean my yogurt maker?
Most yogurt makers come with dishwasher safe jars, but giving everything a quick soak in hot, soapy water as soon as you’re done means you’re ready for the next round any time. Before making a new batch I boil the jug and tip over the jars and utensils I’m using to sterilise everything.
Why Homemade Yogurt Feels Like a Kitchen Upgrade
Figuring out how easy it is to make yogurt at home is one of those kitchen upgrades that truly sticks. You control the process, keep things healthy, and save some cash, all while enjoying creamy, delicious results. Even if you mess up a batch (everyone does at least once), you’re just one try away from a perfect creamy breakfast or snack, knowing exactly what’s inside. Tinker, taste, and have fun with it. Once you start, picking up a tub at the store just doesn’t hit the same way. Making yogurt at home is not just about the recipe; it’s about the whole experience and the satisfaction you get from making something fresh for yourself and your family.
Common Mistakes When Making Yogurt
- Using milk that’s too hot (kills the culture)
- Not keeping it warm long enough
- Using the wrong starter yogurt
- Moving the jar during fermentation
How to Know When Your Yogurt Is Ready
- Thickened texture
- Slight tangy smell
- Clean, slightly sour taste
Tips for Better Homemade Yogurt
- Use full-fat milk for creamier results
- Keep temperature stable (very important)
- Save some yogurt as your next starter