
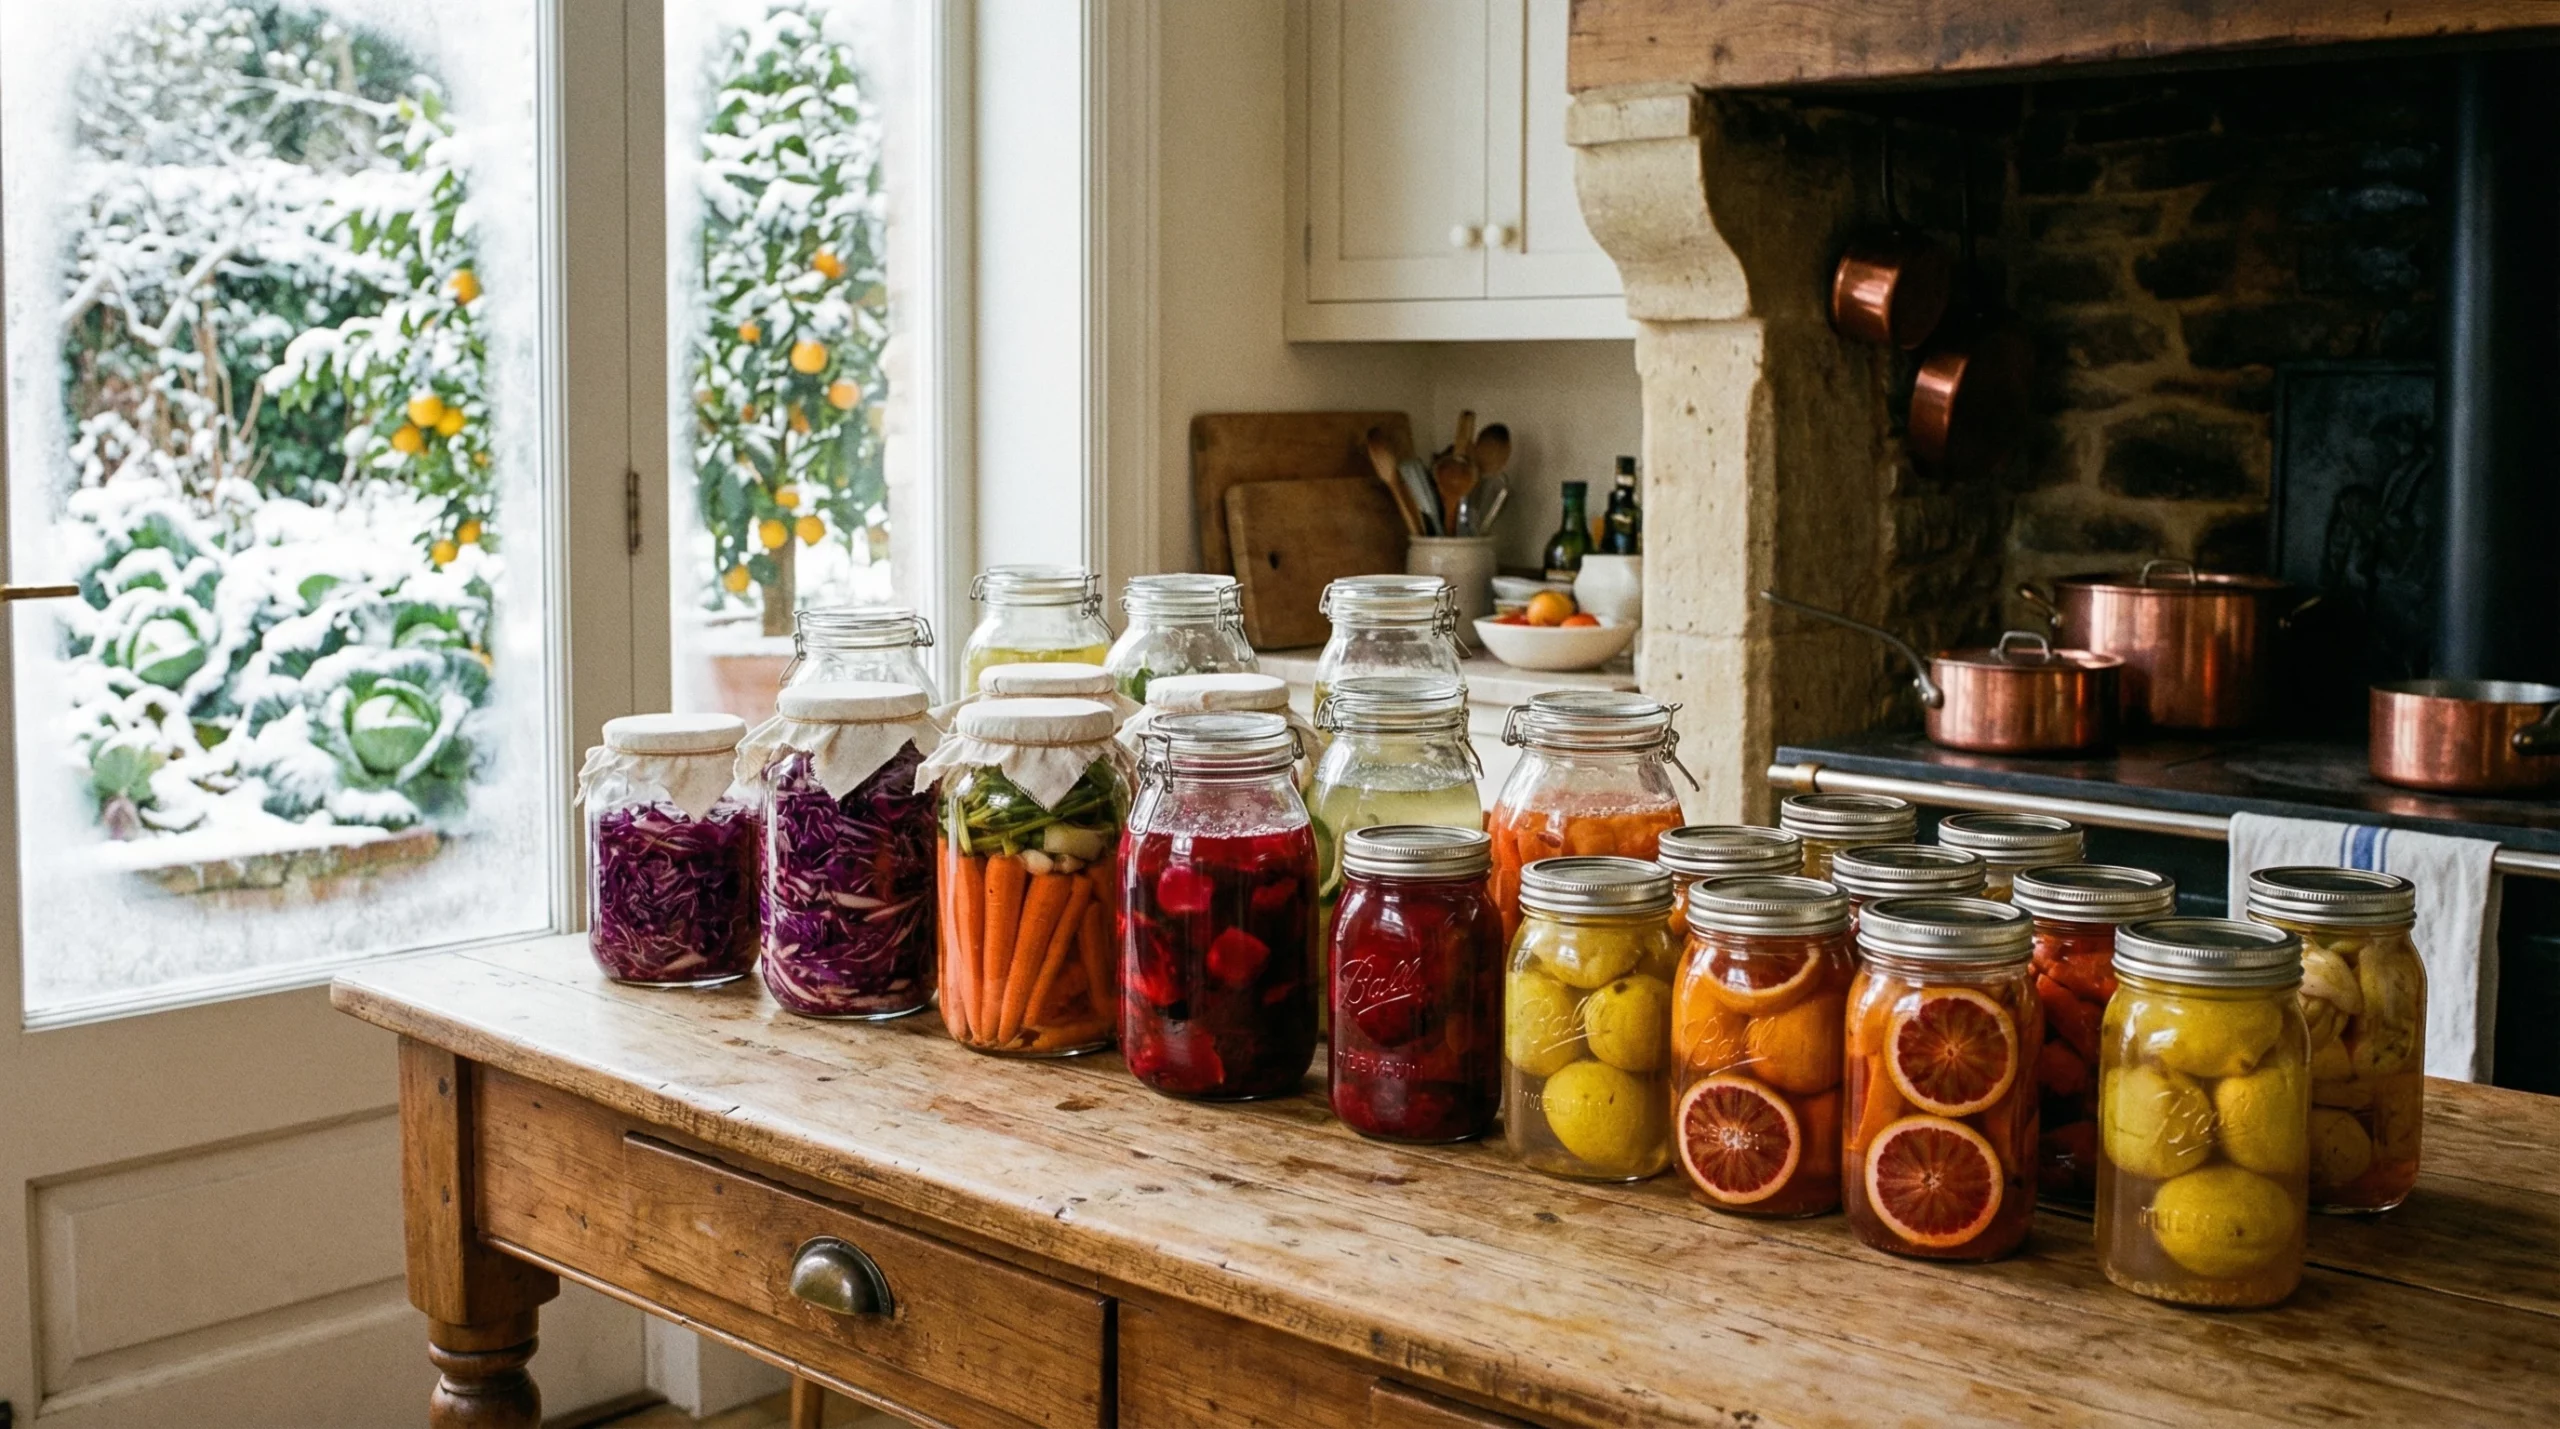
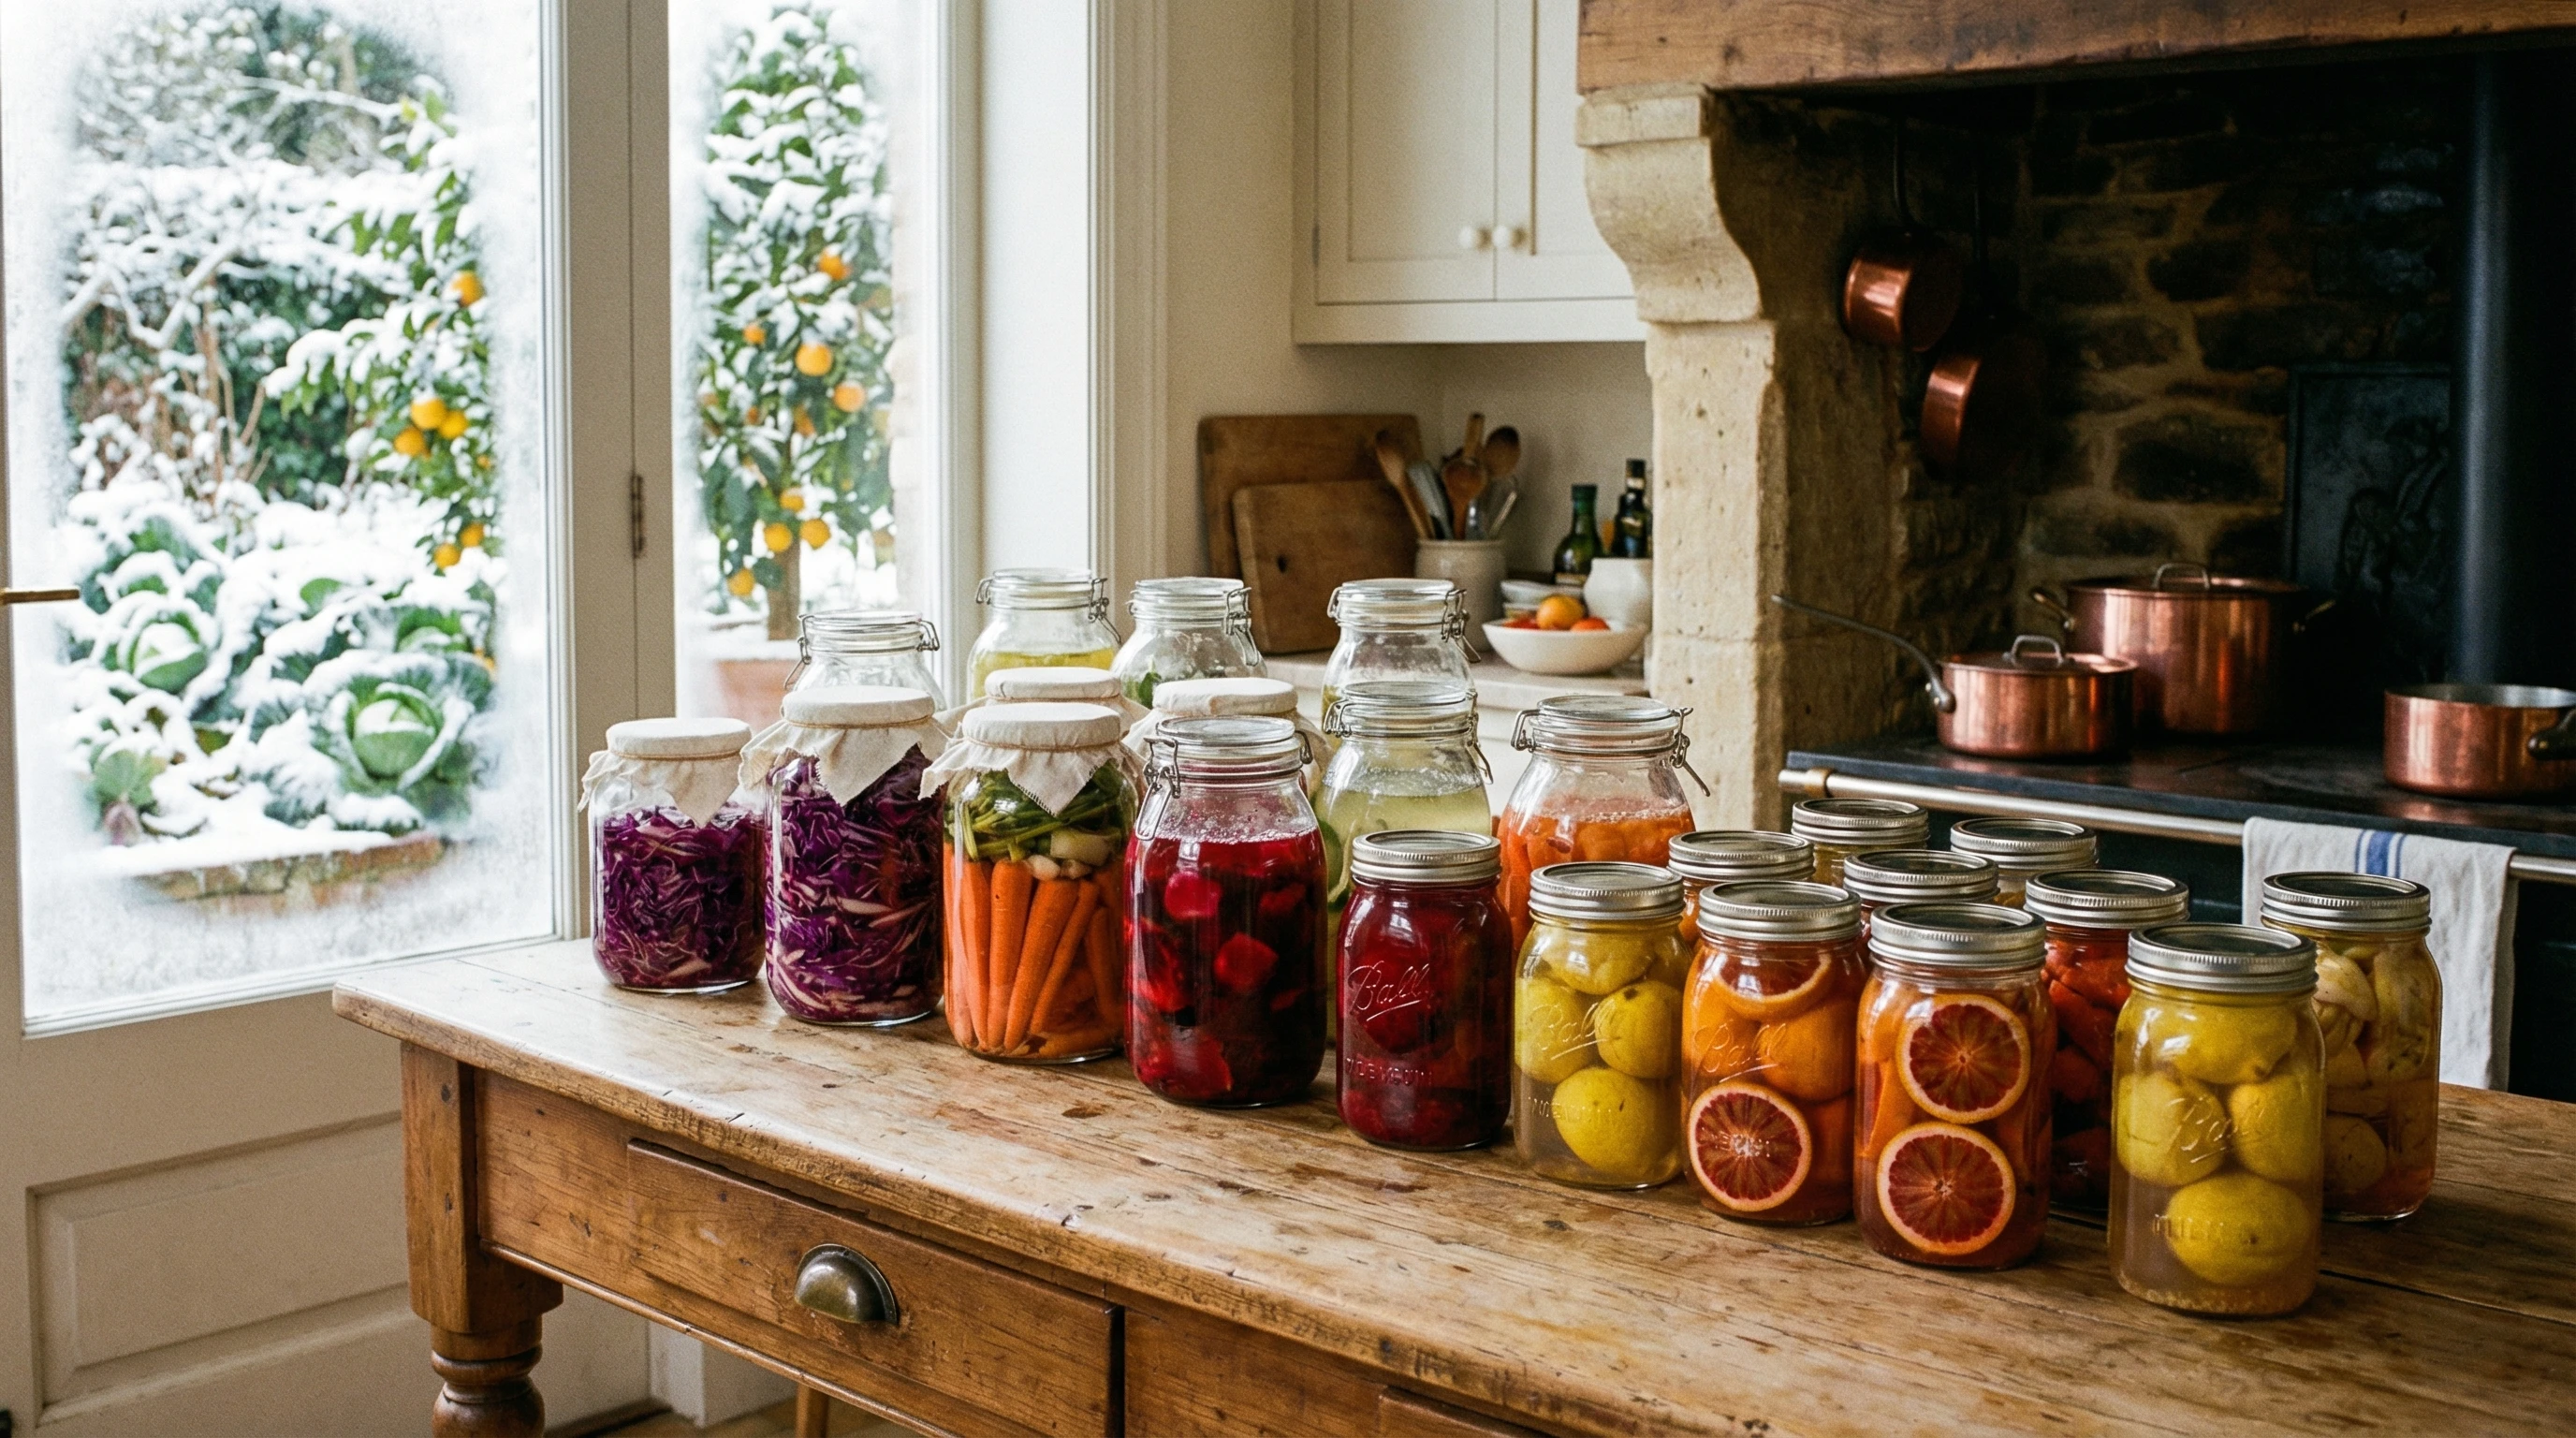
 Fermentation is a fun way to create deep flavors and preserve seasonal ingredients, especially when the weather turns cold and cooking indoors feels even more inviting. Winter is a great time to experiment with fermentation because cooler temps slow things down, making it a beginnerfriendly season for trying new recipes. You don’t need special gear: just a jar, some salt, and your favorite winter produce.
If you’re feeling cooped up by winter’s chill, filling your kitchen with bubbling jars offers a simple way to bring both comfort and flavor to your meals. Fermenting at home is pretty satisfying, and it means you can enjoy tangy, probioticrich foods long after harvest season is done. You also get the joy of putting your own stamp on traditional recipes, and it can become a cozy, hands-on craft for long winter evenings.
This guide covers practical winter fermentation recipes you can make at home, from classic sauerkraut to cozy fermented drinks, with helpful ideas for getting great results even if you’ve never tried it before. Whether you want to try something new or just give your favorite veggies a tasty twist, there’s a recipe for everyone here.
1. Why Ferment in Winter?
Fermenting in winter has a few perks. Cooler air in your kitchen slows down fermentation, helping to prevent spoilage and giving more complex flavors time to develop. That makes winter an ideal season for anyone who’s new to fermenting or wants to experiment with longer fermentation times.
- Stable Temperatures: Most ferments do best between 60°F and 70°F, matching many winter kitchens.
- InSeason Ingredients: Root veggies, cabbages, and citrus are plentiful and tend to ferment well in chilly months.
- Immune Support: Foods made through fermentation often contain probiotics and vitamins that can help support gut health during cold and flu season.
With just a few supplies, you can transform basic winter produce into something totally new. Besides, the process fills your kitchen with delicious aromas and offers a lively touch when outdoor activities may be limited by weather. Fermenting also saves money by stretching your produce further and reducing food waste.
2. The Basics of Winter Fermentation
Fermentation is pretty simple: good bacteria feed on sugars or carbohydrates in foods, creating acids or alcohol that preserve them and develop tangy, tasty flavors. Most traditional winter ferments use a salt brine or saltrub to keep harmful microbes away, so beneficial bacteria can work their magic.
Essential Gear:
- Glass jar or ceramic crock, clean and free of cracks.
- Sea salt or kosher salt (avoid table salt, which has additives)
- A lid; airlock lids help, but a loose fitting standard lid or cloth cover works too.
- A weight to keep veggies submerged (a clean rock, or even a small jar inside a bigger one)
Tips for Success:
- Use fresh, firm produce for best texture and flavor.
- Keep everything as clean as possible to avoid funky batches.
- Label your jars with the start date and ingredients for easy tracking.
Once you’ve got your setup ready, you’re good to go with almost any wintry veggie or fruit. If you’re feeling adventurous, try mixing different veggies together for unique combinations, or tossing in a few spices like garlic, chili flakes, or dill seeds for an extra punch.
3. Winter Fermentation Recipes Worth Trying
Winter ingredients bring bold flavors and a satisfying crunch to ferments. Here are some tried and true recipes that I keep coming back to every winter, and they never disappoint. There’s no need to stick to these exact instructions: feel free to swap produce or play with spices based on your preferences and what you have around.
Classic Sauerkraut
Sauerkraut is a perfect beginner project. All you need is cabbage and salt, plus optional additions like caraway seeds, carrots, or juniper berries.
- Shred 1 medium head of cabbage and mix with about 1.5 tablespoons salt. Massage for 5 to 7 minutes until juices are released.
- Pack tightly into a jar, pressing the cabbage under its own liquid. Weigh down with a fermentation weight or a small clean jar.
- Cover and let ferment at room temperature for 7 to 14 days. Taste after a week; when it’s tangy, move to the fridge.
Fermented Carrots and Beets
Carrots and beets are tough enough to ferment well in winter and develop beautiful colors and earthysweet flavors.
- Slice carrots or beets into sticks and mix with a 2% salt solution (by weight: 20g salt per liter of water).
- Submerge veggies in the brine, cover loosely, and ferment at cool room temperature for 5 to 10 days.
- Once they taste pleasantly sour, transfer to cold storage and enjoy in salads or as a snack. Try sprinkling fresh herbs such as parsley or cilantro on top just before serving for a bright, fresh note.
LactoFermented Citrus
Lemons, limes, and oranges add brightness to winter recipes. Preserved lemons are a staple in North African cooking and super easy to make, while fermented oranges or limes can be chopped and added to salsas or salad dressings for a fun twist.
- Quarter lemons almost all the way through, then pack each with salt.
- Fit tightly into a sterilized jar, pressing down to release juices and cover the lemons. Add more lemon juice if needed.
- Leave at room temperature for 2 to 4 weeks, shaking daily. Once rinds are soft, refrigerate and use to punch up stews, salads, and soups.
Fermented Cranberry Relish
This is a sweettart ferment that’s great on toast, yogurt, or roast meats. Add a handful of walnuts or a dash of cinnamon for extra richness, or swap apple for pear if you want something different.
- Chop 2 cups cranberries, 1 small orange (peel on), and 1 apple. Mix with 2 teaspoons grated ginger and 1 or 2 teaspoons salt.
- Pack into a jar and press to get the juices flowing. Cover and ferment for 3 to 5 days, then move to the fridge when it’s bubbly and tangy.
These recipes make it easy to jump into winter fermenting with ingredients you likely already have. Remember, fermentation can be playful: small swaps and tweaks let you experiment with what flavors work best for your palate and family.
4. Cozy Fermented Drinks for Chilly Weather
Fermented drinks like kombucha, water kefir, and ginger bug are nice yearround, but winter versions often include warming spices and seasonal fruits. Not only do these drinks add variety to your table, but they also provide a refreshing, gutfriendly contrast to heavier winter fare.
Ginger Bug Soda
A ginger bug is a fizzy, probiotic soda starter made with just ginger, sugar, and water. In winter, add cinnamon or clove for spicy warmth. You can use your ginger bug to ferment homemade root beer or apple soda with only a few extra ingredients.
- Mix 2 tablespoons grated ginger, 2 tablespoons sugar, and 2 cups water in a clean jar. Stir daily and feed with 1 tablespoon each ginger and sugar for 5 days.
- When bubbly, strain and use the liquid to ferment homemade sodas by mixing with fruit juice and bottling for a couple days.
Fermented Wassail
Wassail is a traditional mulled cider. You can ferment apple cider with winter spices and a pinch of wild yeast from the apples for a low alcohol, old fashioned beverage. If you like, add a splash of pomegranate juice or sprinkle in nutmeg for an extra festive spin.
- Pour fresh pressed apple cider into a jug with orange slices, cinnamon sticks, cloves, and a handful of raisins.
- Cover with a cloth and let ferment at room temperature for 2 to 4 days, then strain and chill.
Homefermented drinks have a lightly fizzy tang and bring a festive feel to any cold evening. Experiment with spices and juices to create your own signature winter sipper.
5. Troubleshooting Winter Ferments
Fermenting isn’t always perfect, but most issues are easy to spot and fix:
- Veggies too soft? This usually happens when things ferment too long. Use firm produce, check regularly, and move your jar to a colder spot if needed.
- Ferment smells off or grows fuzzy mold? Toss it and start over; better safe than sorry. Kahm yeast (a whitish film) is usually harmless but can affect flavor.
- Bubbling stops quickly? Fermentation slows in cool temps, so be patient and let it go a bit longer for best flavor.
Fermentation is partly about experimenting. Keep notes, try different spice blends, and don’t worry about perfection; just aim to have fun and learn each time. If you’re unsure whether a ferment is safe, it’s always best to err on the side of caution and start again. Over time, you’ll get better at spotting what works and knowing what flavors you like best.
6. Enjoying Your Winter Ferments
Once your ferments are ready, you can eat them straight from the jar, stir them into warm grain bowls, toss them into salads, or serve as a flavorful side to cozy winter meals. They also make great gifts for friends who love homemade treats with a twist.
Exploring winter fermentation recipes is a practical way to enjoy seasonal produce, build new kitchen skills, and add healthy, tangy flavors to everyday dishes. Don’t be afraid to play around with what’s in season or what you have leftover in the fridge; fermentation rewards curiosity, and your taste buds (and gut!) will thank you for the effort.
Thanks to the slower pace and unique flavors that winter brings, fermentation becomes not just a way to preserve food, but a fun adventure that turns cold days into creative kitchen time. Try out a batch of kraut, get a ginger bug bubbling, and share your creations with family or friends for that extra layer of warmth this season.