

Fermenting at home is a mix of oldschool kitchen tradition and a bit of experimental fun. If you’ve ever eaten yogurt, sauerkraut, or pickles, then you’ve already enjoyed the results of home fermentation—maybe without even realizing it! Making your own fermented foods is pretty satisfying, and there’s a kind of magic watching cabbage turn into tangy kraut or milk bubble into creamy yogurt on your countertop. Here’s my go-to guide for starting home fermentation the safe and simple way, whether you’re aiming for crunchy veggies or a fresh batch of kombucha.
Why Try Fermentation at Home?
Making fermented foods in your own kitchen is about more than just saving a trip to the grocery store. You get to control exactly what goes into your food, experiment with flavors, save some cash, and pick up a handy skill at the same time. Home fermentation also means you’re boosting the gut-friendly bacteria in your diet, which is awesome for digestion.
Fermentation works by letting natural bacteria or yeast turn food sugars into acids or alcohol. This process keeps food safe to eat longer. No fancy equipment—just time and the right conditions. Today, home fermentation is a growing trend, especially since folks are looking for healthier, more natural food options. You’ll often find communities and forums buzzing with recipes, tips, and troubleshooting advice. Once you get started, it’s honestly hard to stop. There’s always another veggie or drink to try fermenting!
There’s an additional feel-good element in fermenting at home: you get to reduce kitchen waste by giving new life to leftover veggies. Instead of tossing that half-head of cabbage, you can turn it into a crisp, tangy treat that lasts far longer than the unfermented original. Many people also say that home-fermented foods taste fresher and brighter than store-bought versions because you craft them to your preferred style. Plus, it’s a relaxing and rewarding hobby, letting you slow down in the kitchen and watch the small day-to-day changes as your ferments do their thing.
Home Fermentation: Key Safety Steps
Safety is the first thing I always mention because fermentation depends on encouraging the “right” microbes and keeping the “wrong” ones out. Luckily, this isn’t difficult, as long as you stick to some commonsense rules:
- Clean Workspace: Always scrub your hands, jars, tools, and surfaces before you start. Hot, soapy water does the trick.
- Use Fresh Ingredients: Bruised or moldy produce can lead to bad batches, so start with the freshest food possible.
- Choose the Right Containers: Stick to food grade glass (Mason jars are perfect) or ceramic. Avoid metal or plastic that isn’t foodsafe since acids from fermentation can react with those materials.
- Follow Salt Guidelines: A salty brine (usually 2-3% salt by weight) prevents harmful bacteria from taking over, especially in veggie fermentation. Use noniodized salt like pickling or kosher salt.
- Monitor Temps: Most ferments do best around 65-75°F (18-24°C). Too cool, and things won’t happen; too warm, and you might get unwanted microbes.
Remember, following these steps does more than make things safer. It sets you up for more flavorful, successful ferments with less stress or wasted ingredients. Taking notes on each batch about cleanliness, ingredient choices, and temperatures can also help you track down what works best in your home environment, making each new batch a little more fine-tuned than the last.
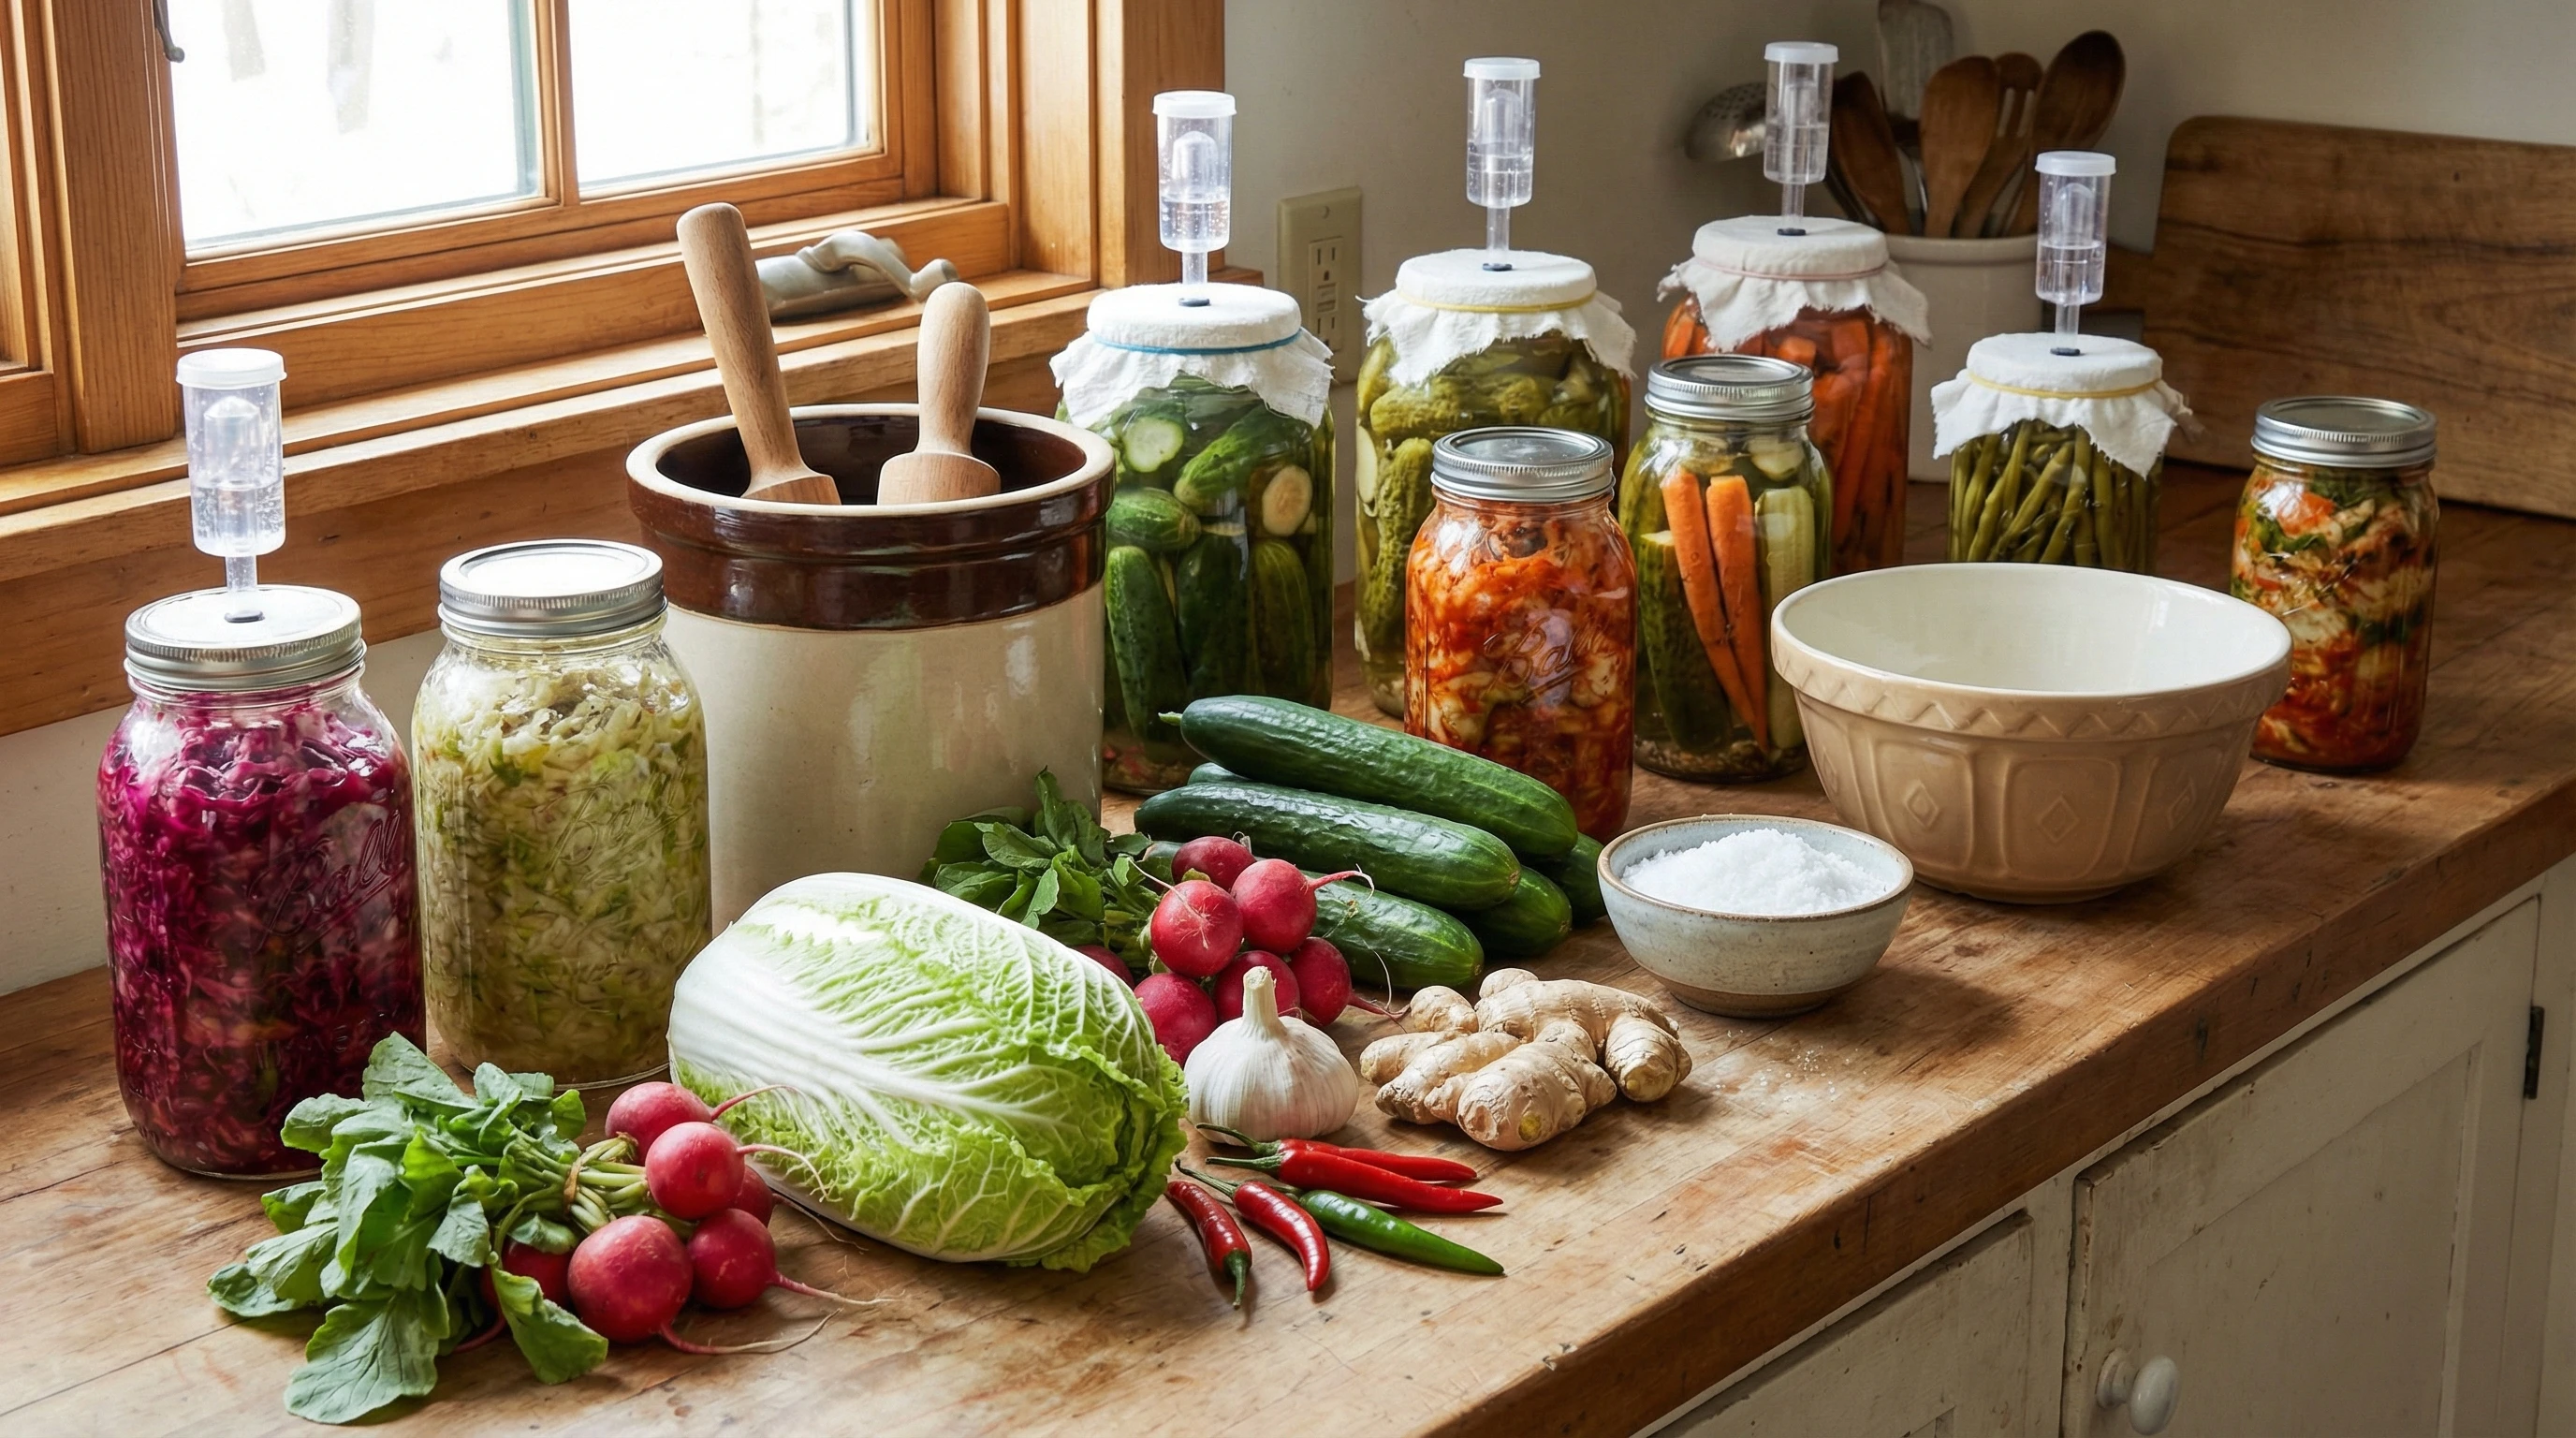
A Beginner’s Starter Kit for Fermenting
You really don’t need a ton of gear to get your first ferment going. Here’s what I like having on hand:
- Mason Jars or Crocks: For veggies, a quart jar is usually the sweet spot. A ceramic crock works great for bigger batches.
- Airlock or Lid: A loose lid is good for letting gases escape, but airlock lids and fermentation weights help prevent mold and mess.
- Salt: Always check that your salt is free from additives. Pickling salt, sea salt, or kosher salt all work well.
- Scale or Measuring Spoons: A kitchen scale helps with salt ratios, but you can get by with spoons for small projects.
- Tamper or Pounder: For smashing cabbage or veggies, a sturdy spoon or a wooden tamper speeds up the process.
In addition to these basics, you might also want a funnel for neatly packing your jars and a set of labels to keep track of batches and ferment dates. Once you’re feeling adventurous, reusable silicone jar weights or specialized fermentation lids can make the process even more relaxed and nearly effortless.
First-Time Fermentation: Classic Recipes
First projects should be both easy and reliable. Here are a few beginnerfriendly options that I always suggest to fermentation newbies:
- Fermented Vegetables: The classic is sauerkraut—just cabbage and salt. Kimchi is great if you like spice, and carrot sticks with garlic and dill make tasty snacks.
- Yogurt: With just milk and a little storebought yogurt to start, you can have a batch set up in a couple of hours.
- Kombucha: This is a sweetened tea that’s fermented by a SCOBY (a pancake-like culture you can buy online or get from a friend).
- Kvass or Pickles: Beet kvass or saltbrined cucumber pickles are great for sipping or snacking.
Sauerkraut: Step-by-Step
- Slice a small head of cabbage and put it in a bowl.
- Sprinkle with about 1.5 tablespoons noniodized salt (for a 2% brine).
- Massage and squeeze until cabbage gets juicy (about 5 minutes).
- Pack into a jar, pressing down until the liquid rises above the cabbage.
- Weigh cabbage down to keep it submerged, then cover with a loose lid. Store in a cool, dark place.
- Check daily. After 5-7 days, taste it. When it’s as sour as you like, refrigerate to slow fermentation.
If you want to try a slightly more adventurous first project, quick kimchi with radish, carrot, and a scoop of gochugaru (Korean chili flakes) is a flavorpacked choice. Or experiment with classic garlic pickles; slice up fresh cucumbers, add a tablespoon of salt and a few sprigs of dill and garlic cloves to each jar, and cover with filtered water. In just a week or so, you’ll track down the satisfying snap and zing in every bite.
Troubleshooting and Tips for Success
Mistakes happen, and every fermenter has a story about a funkysmelling jar or a batch that just didn’t work. Here are a few things I look out for:
- Scum on Top: This is often just harmless yeast (kahm yeast). Skim it off; as long as there’s no fuzzy mold and it smells sour but not rotten, the ferment is usually okay.
- Mold: Fuzzy, blue, black, or pink mold is a no-go. If you see that, toss it and start over. Most mold grows on the part exposed to air, so keeping veggies under brine is super important.
- Bad Odors: A normal ferment smells sour, tangy, or garlicky. If it stinks like rotten eggs or has an “off” smell, it’s better to be safe and throw it out.
Quick List of Common Problems
- Veggies floating to the surface (use a weight)
- Fermenting too hot or too cold (move jar to a better spot)
- Cloudy brine (usually fine, unless it smells bad)
Some ferments develop a white, powdery layer (harmless yeast) while others may have cloudy brine from natural bacteria; both of these are normal, but trust your senses—if anything seems off, there’s no shame in discarding a batch. Keeping notes on your results helps you fine-tune recipes and helps you spot what works best in your space.
Extra Tips and Creative Additions
Once you’re comfortable with the basics, there’s a whole world of ingredients and techniques to try out. Here are some things I like to do:
Mix Up the Vegetables: Try radishes, green beans, cauliflower, or turnips. Leafy greens take a bit of practice but are worth it.
Add Spices: Bay leaves, mustard seed, garlic, ginger, or chili flakes can give your batches a fresh twist.
Experiment with Ferment Times: Short ferments (3-5 days) are crunchier and less sour; longer ones (2-3 weeks) have a stronger bite. Taste as you go.
Try Dairy or Beverages: Once you’ve done basic veggies, step up to yogurt, kefir, or kombucha for something different.
If you want to get creative, make use of heirloom vegetable varieties from your local farmer’s market or spice things up with international flavors. Add a handful of grated turmeric and ginger for a golden-hued kraut, or toss in sliced jalapenos for a fiery finish. You might also try experimenting with fruit: apple slices, grapes, or berries ferment quickly and can be combined with cabbage or carrots for unique, tangy flavors perfect for summer salads or as a bold condiment. As you play with new combinations, keep detailed notes—the smallest change in ingredient or technique can make each batch taste entirely new.
Things to Consider Before Starting
Every kitchen setup is a little different, and there are a few things worth checking before you begin fermenting at home:
- Available Space: You’ll need a spot that’s out of direct sunlight and has stable temps—not too warm, not too cold.
- Patience: Fermentation works on its own timeline. Sometimes batches are ready in days, sometimes weeks.
- Ingredient Sourcing: Quality really matters. Farmers’ market or gardenfresh produce often works better than limp grocery store veggies.
- Batch Size: It’s tempting to make a gallon, but I usually say start small until you know how you like it.
Also, think about cleanup and storage. Jars need to fit in your fridge, and clean, dry towels are helpful for wiping up spills or keeping surfaces tidy. If you live in a small apartment, a windowsill or a pantry shelf can be the perfect fermentation spot. Try to pick an area with little foot traffic so your jars are less likely to get bumped or disturbed while the magic happens.
Real-World Example
A friend of mine started with a simple jar of garlic dill and carrots and was hooked in a week. They moved on to kefir, trying all sorts of milk alternatives, and now share kombucha SCOBYs with their neighbors. It’s one of those hobbies that tends to ripple out and create connections with friends or family. Tons of my own kitchen experiments came from swapping jars, recipes, and tips with other home fermenters.
My own foray into home fermentation led me to stumble upon a local group passionate about wild fermentation. Exchanging recipes for spicy kimchi and homemade kvass, I built friendships while swapping extra starters and even organizing tasting parties. The sense of community is a huge bonus—sharing your new favorite batch, learning from others, and getting feedback helps make each ferment better than the last.
Frequently Asked Questions
Just getting started? Here’s what folks tend to ask most about home fermentation:
How do I know if my ferment is safe to eat?
If it smells fresh and sour (not rotten or musty), looks clean, and there are no fuzzy mold patches, it’s usually good to go. Trust your senses; if you’re unsure, it’s okay to toss it and try again.
What’s the best thing to ferment first?
Sauerkraut or carrot sticks. They’re both forgiving, quick, and use simple ingredients.
How do I clean my gear?
Just wash with hot, soapy water and rinse well. You don’t need to sterilize like with canning; just keep things very clean.
Can I use tap water for brine?
Most tap water is fine, but if yours is heavily chlorinated, let it sit out for a few hours or boil and cool it first. Chlorine can slow fermentation.
Ready to Get Fermenting?
Home fermentation is a laid back, handson hobby with tasty rewards. Start small, keep things clean, and pay attention to what your ferments look and smell like. Having a notebook for batch notes helps a lot, especially when you find a combo you love and want to repeat it later.
As you get more comfortable, jump into new recipes, share your results, and join fermentation groups online. There’s always another batch to try, another flavor twist, or a new food to ferment. Here’s to plenty of tangy, crunchy, and probiotic rich creations coming out of your kitchen!